網誌好讀版:
https://kivxlee.blogspot.com/2022/08/command65-and-crp-peacock.html

好像超過半年沒發文了,因為公事雜務一堆,搞得都沒有心情開箱,
手上積了一堆套件如Luna、Angle都是來的就放著,還沒真正檢查。
這次就先來開個小東西,從某人那A來的樣品 - Command 65。
其實這個復古的造型我很久前就在電影中還是網路上看過,一直還蠻喜歡的,現在有人做
出來的當然要搞來玩玩。
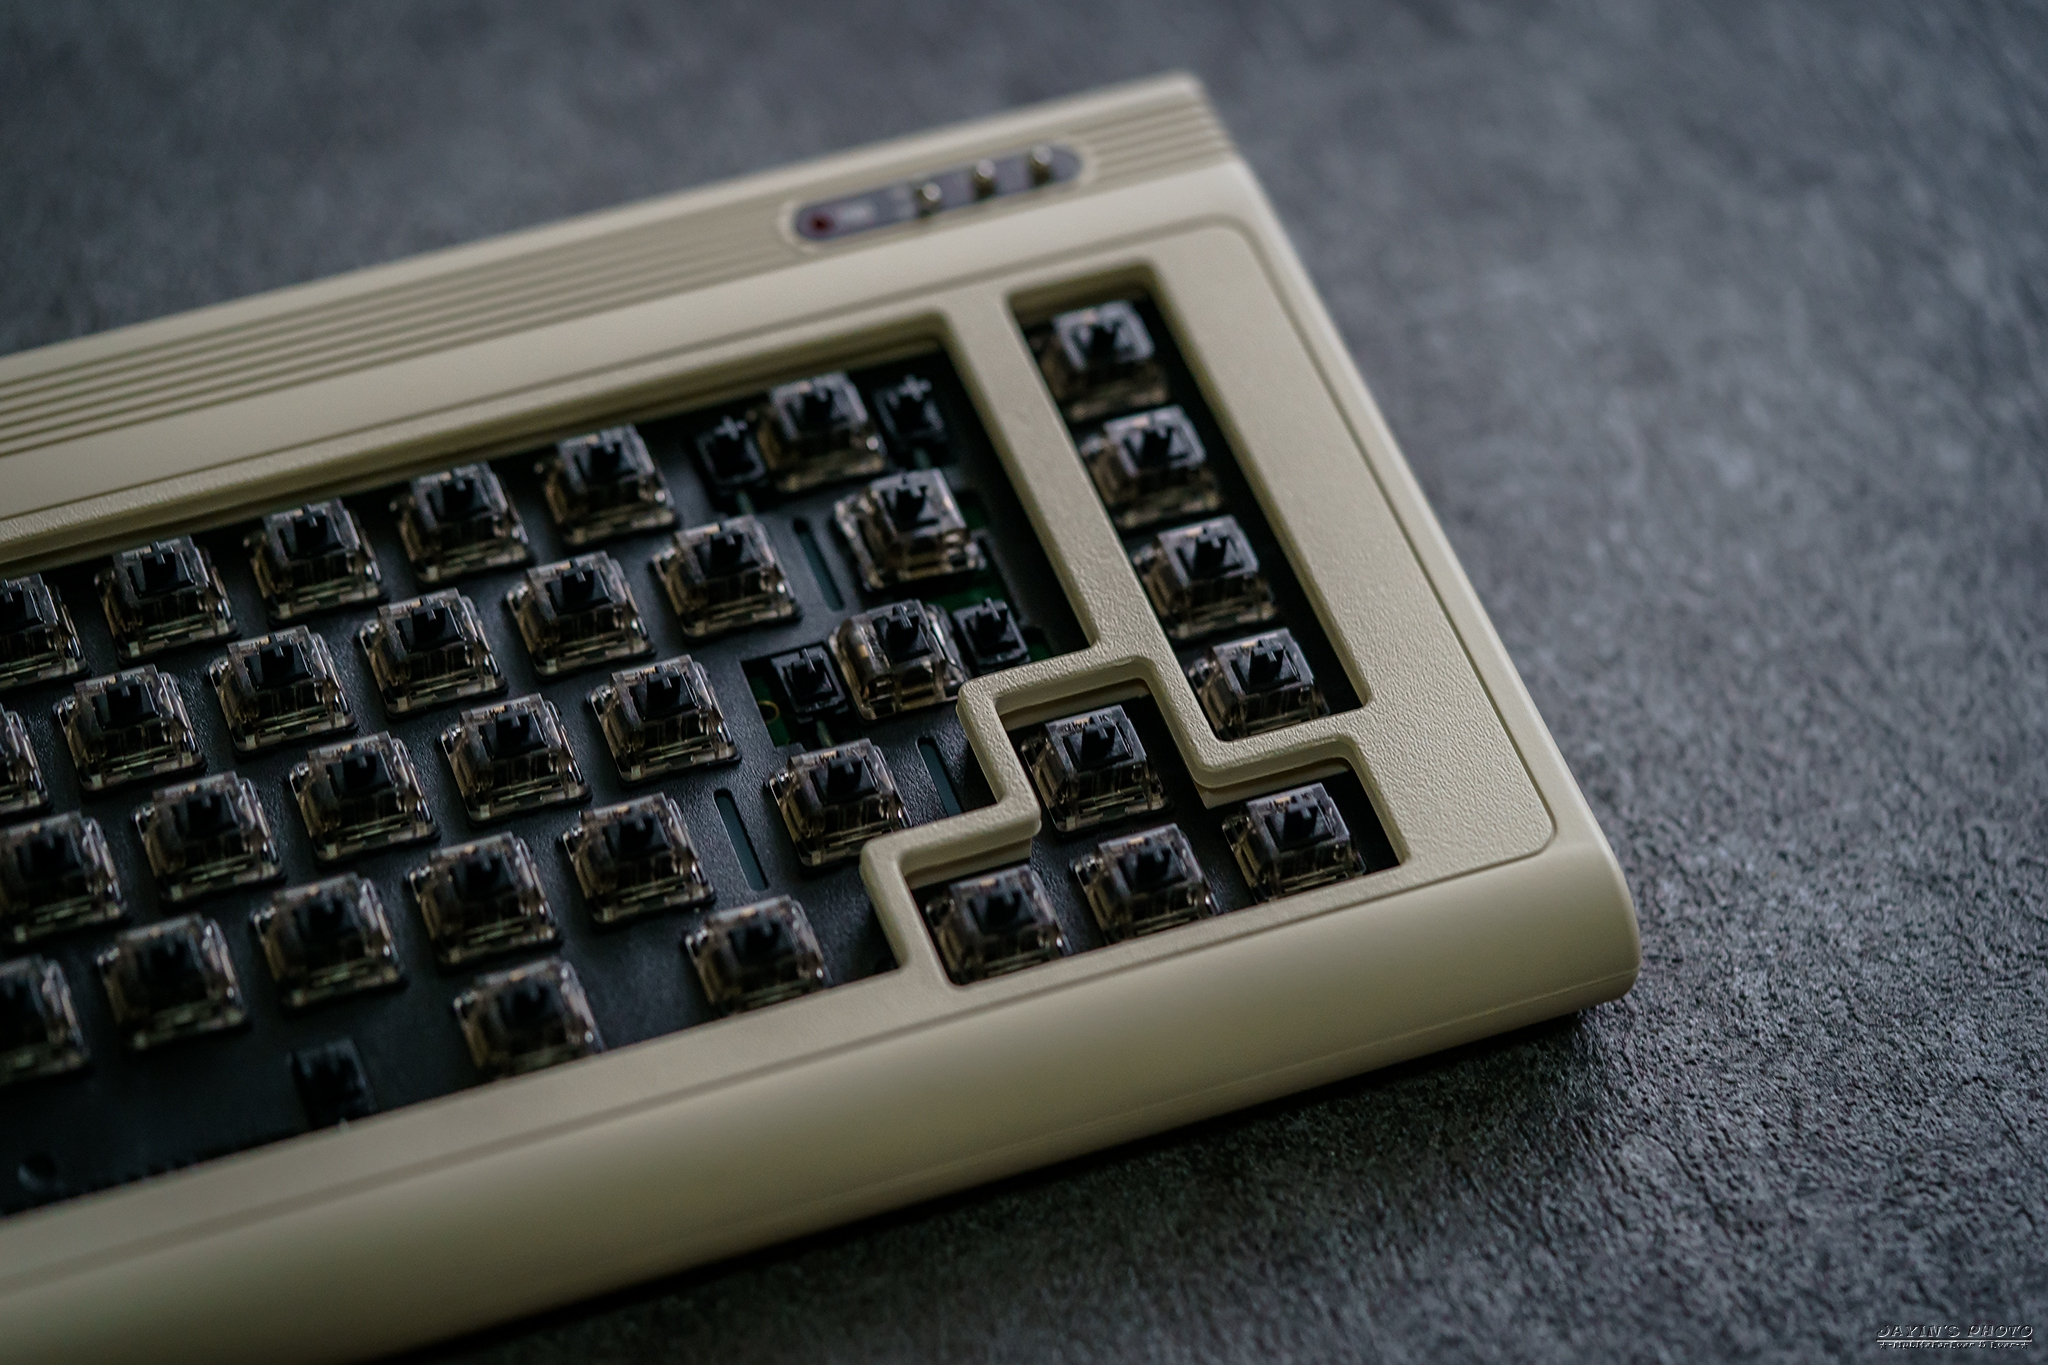
▼直接看主題,Command 65象牙白樣品,其實我怎麼看都不覺得它是象牙白啊XD 因為是
樣品所以已經半組裝完成。
https://live.staticflickr.com/65535/52269362089_4d611ea8dc_o.jpg
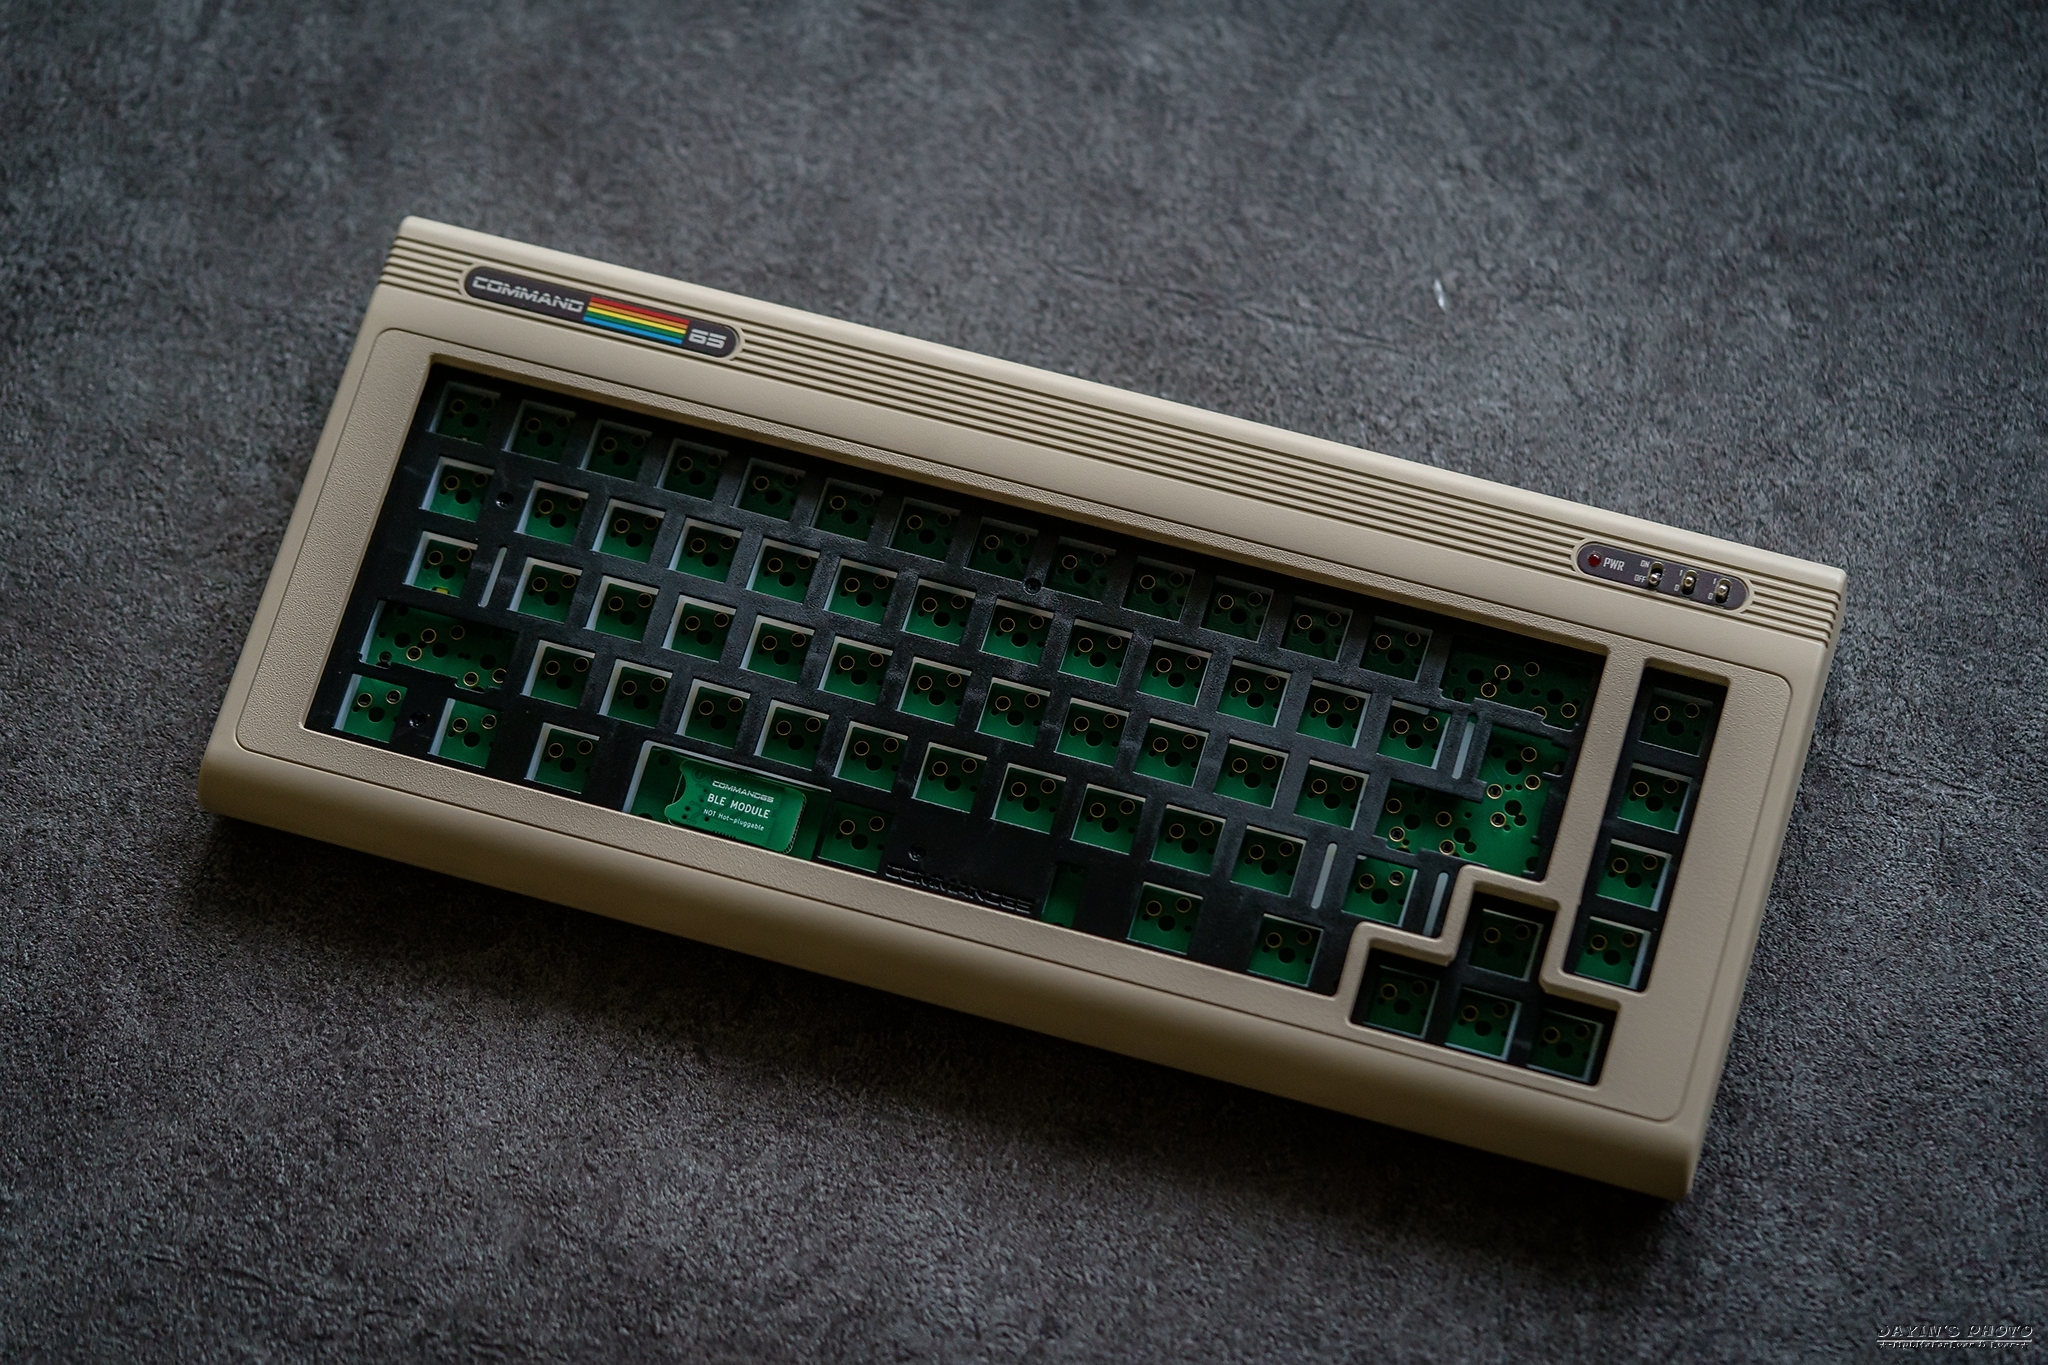
▼左上角有Command 65的標示,請支持多元成家(誤)。
https://live.staticflickr.com/65535/52269361439_ecab7ded38_o.jpg

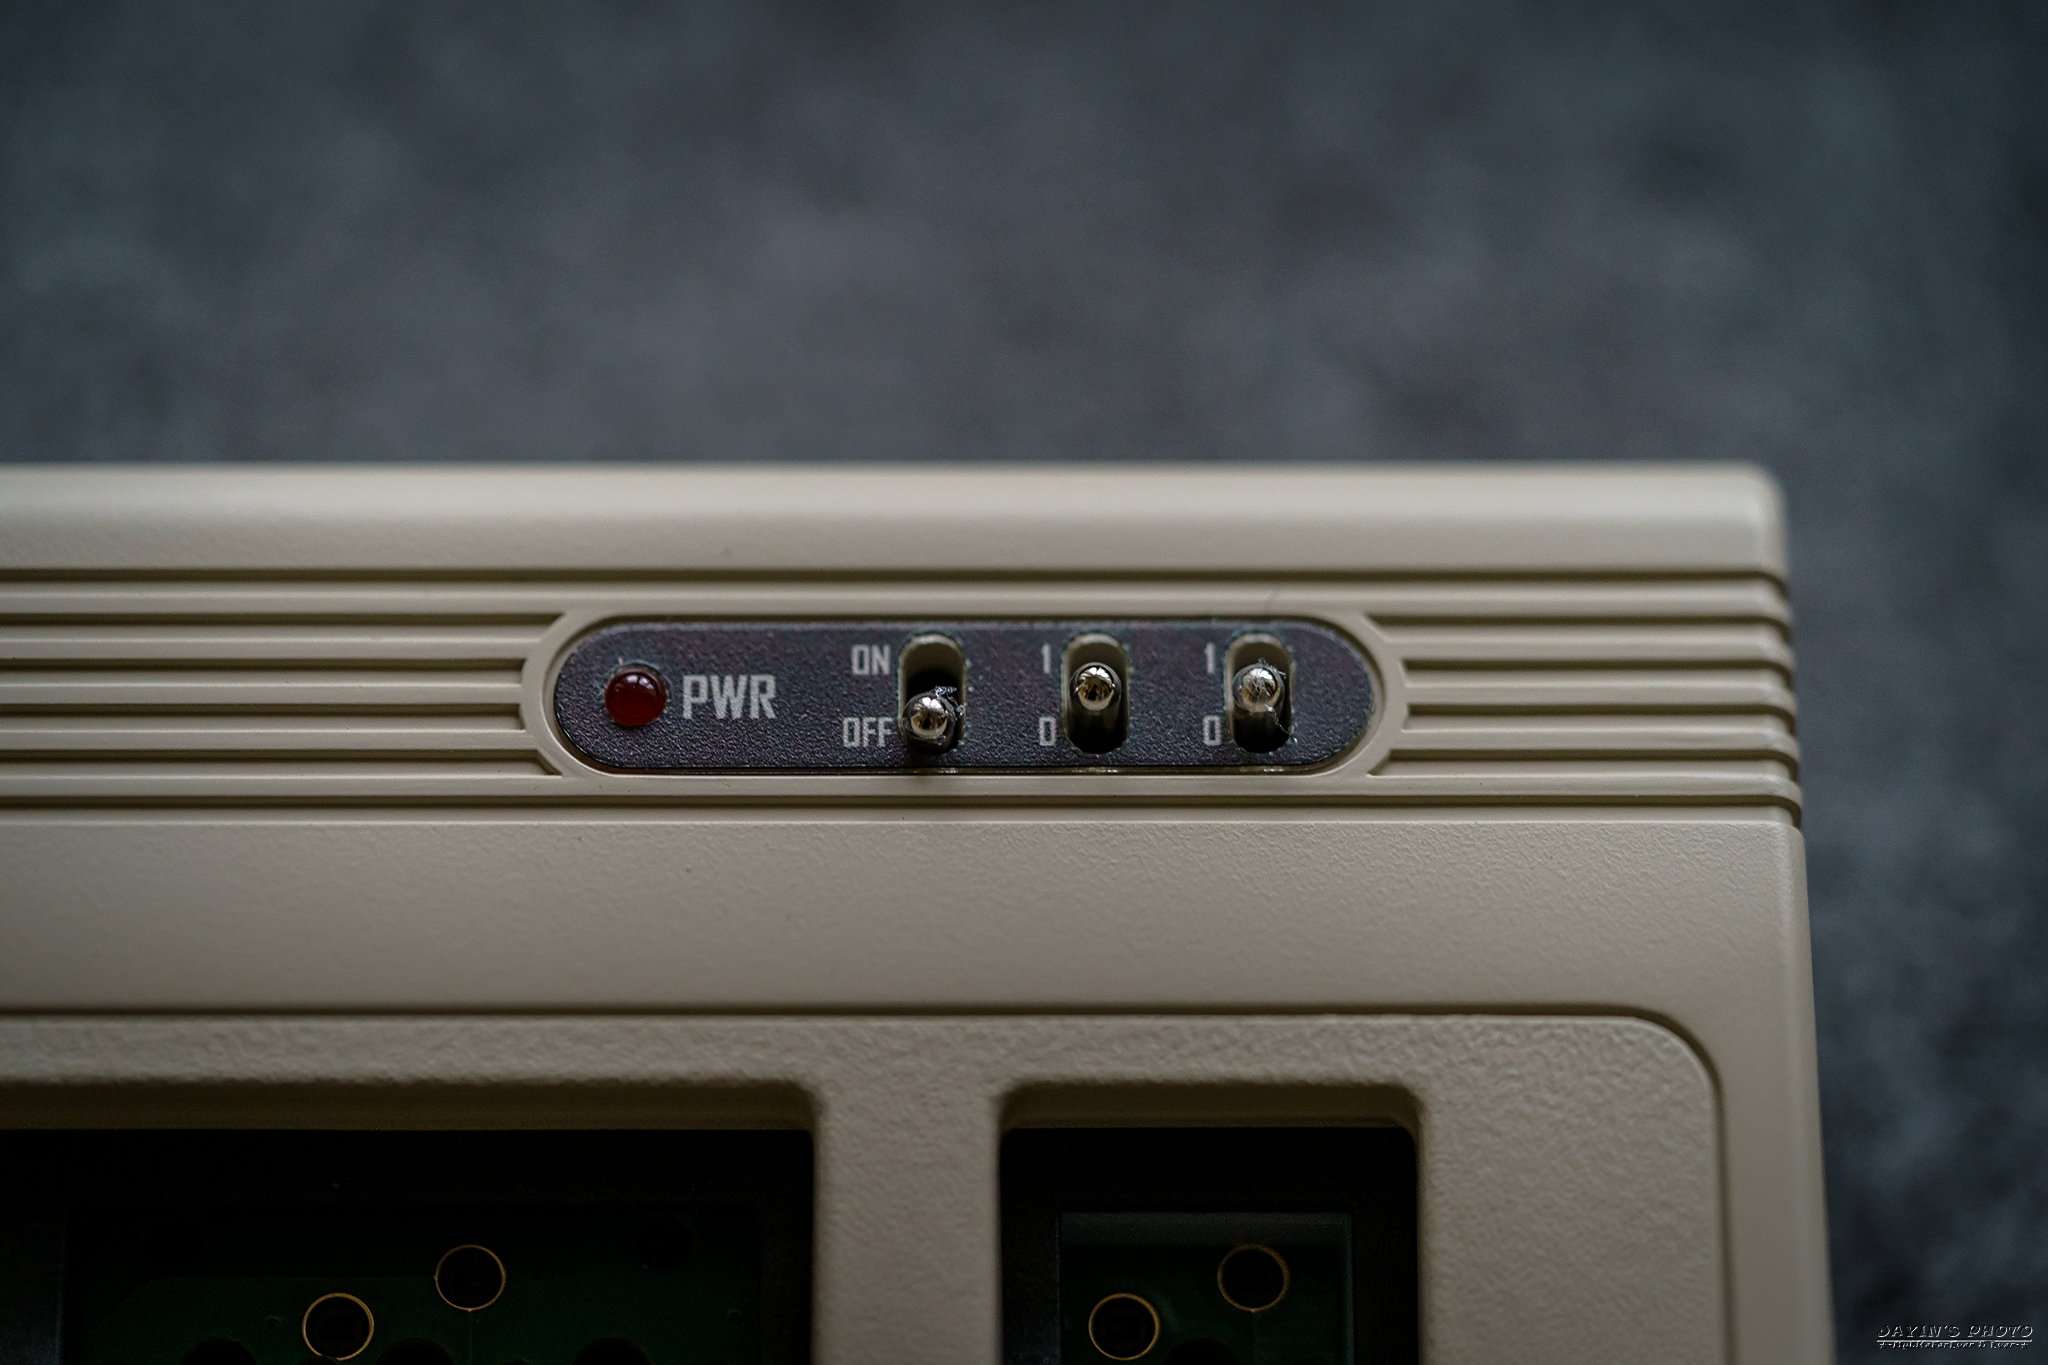
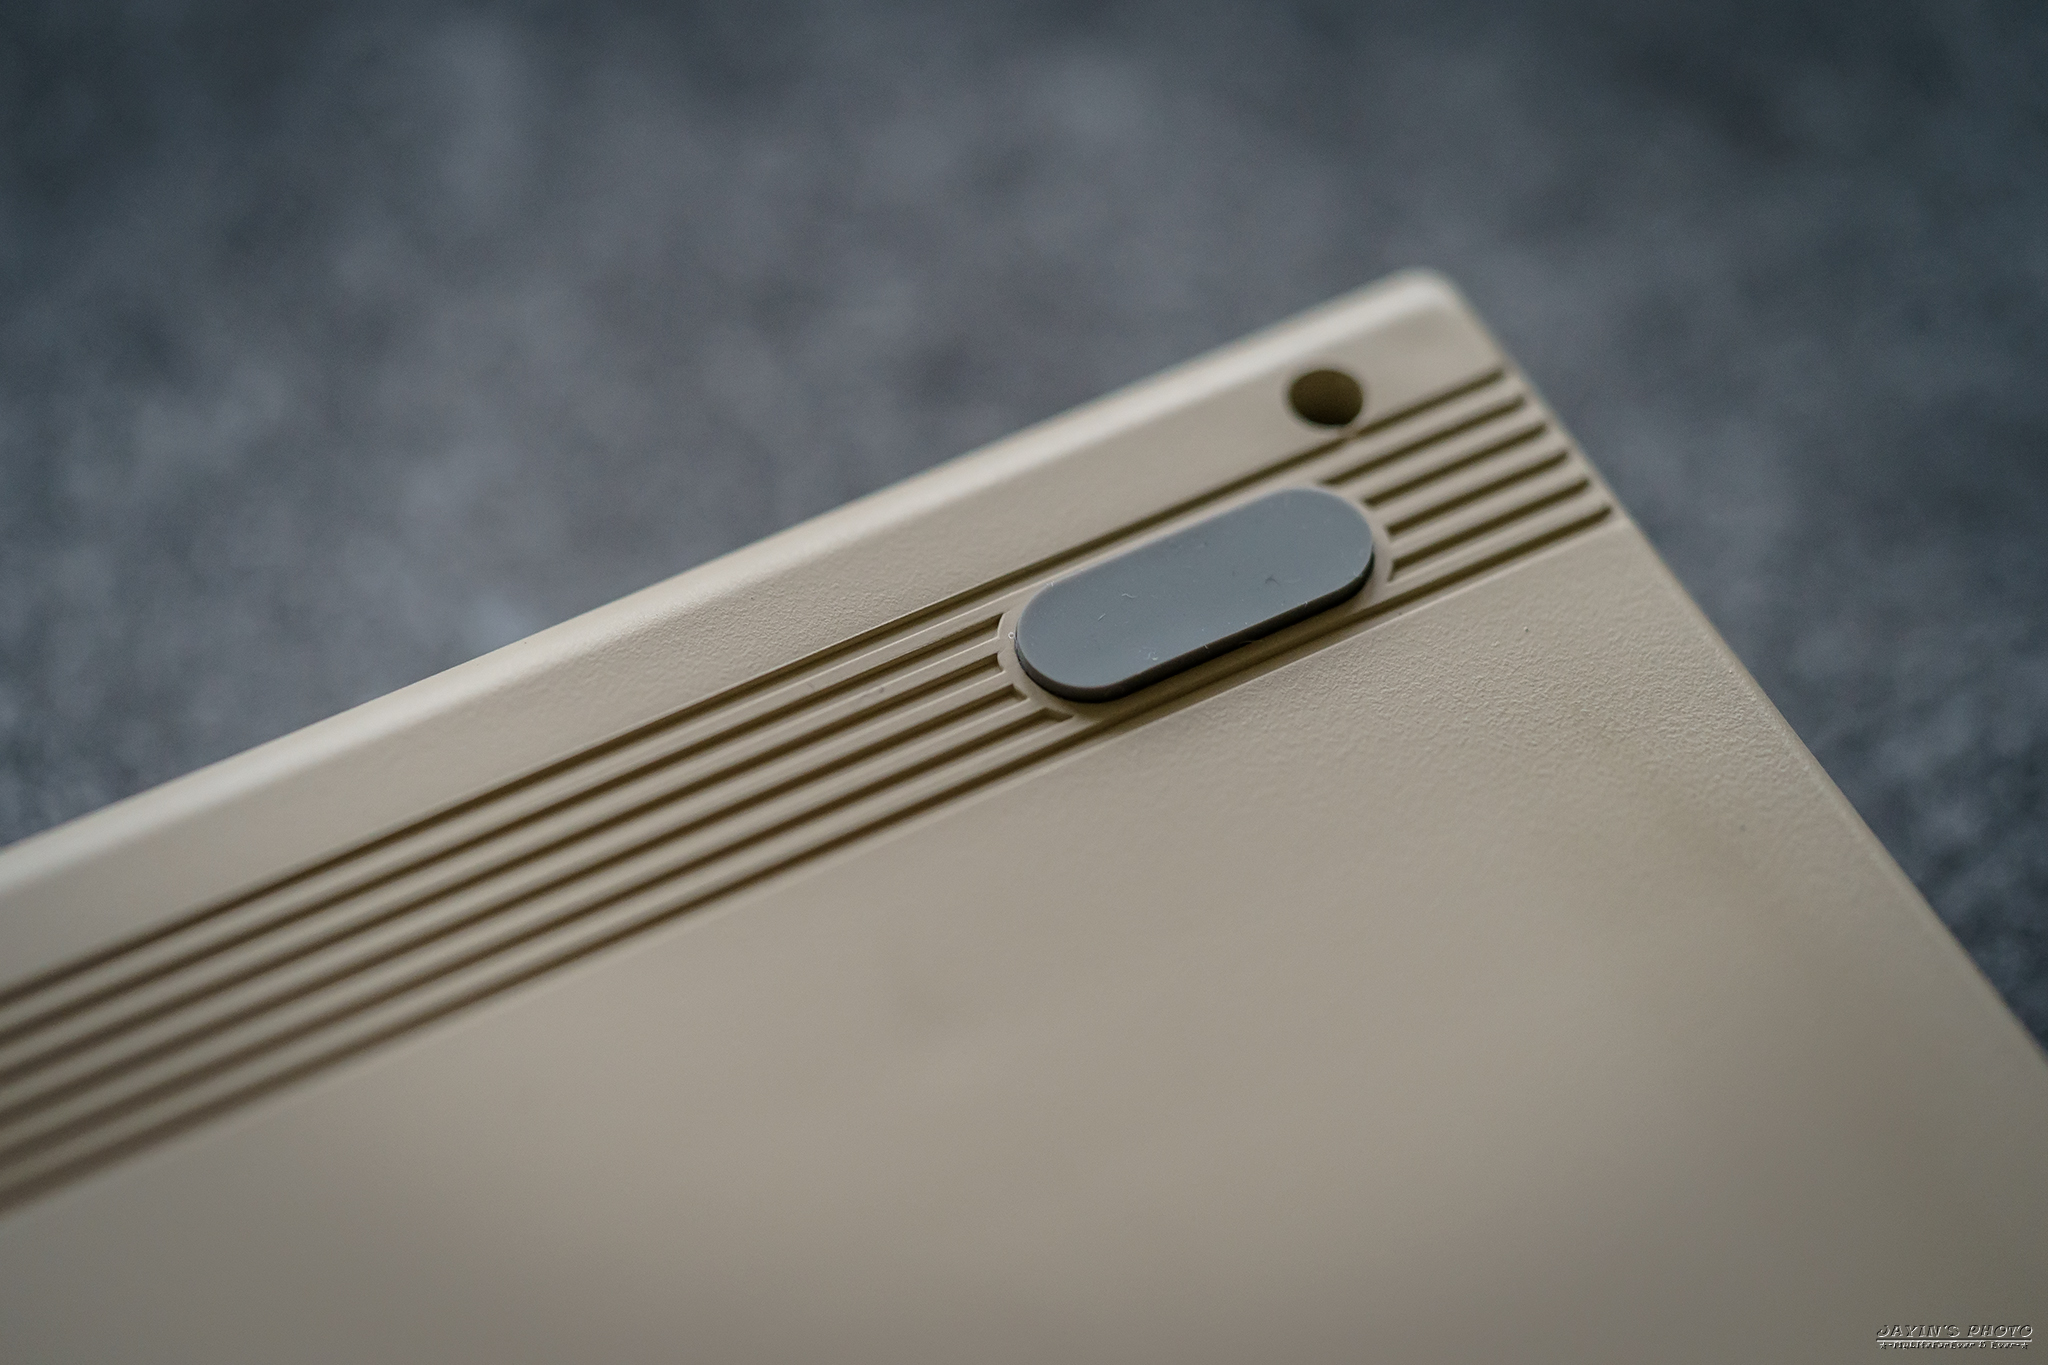
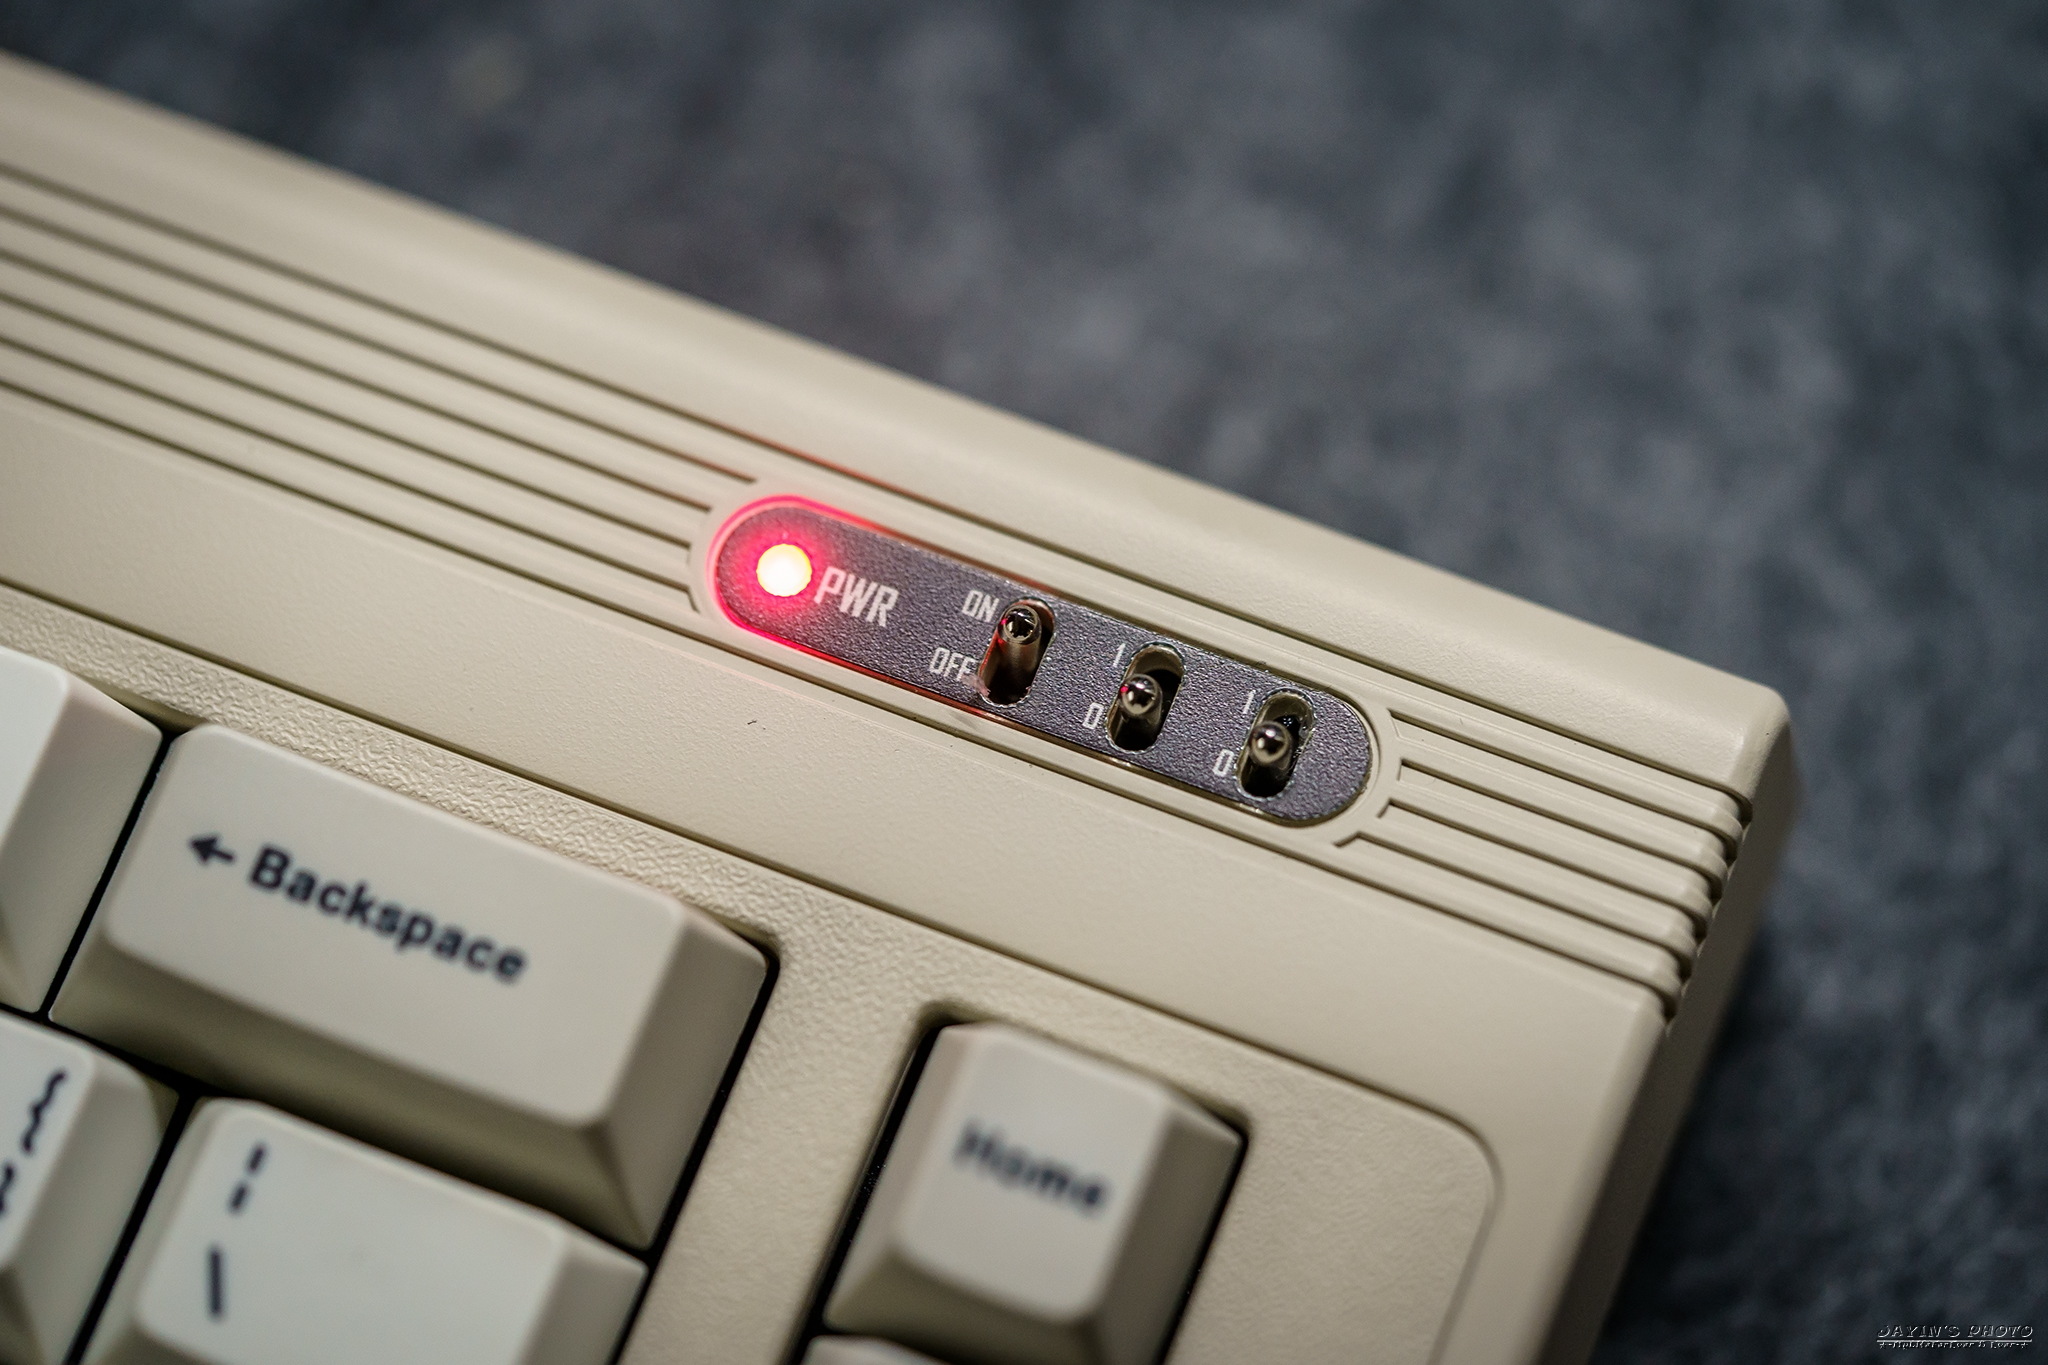
▼右上則是Power LED、藍牙開關撥桿,還有二個可以自定義的撥桿,表示這是一把雙模
套件。
https://live.staticflickr.com/65535/52269362059_452eba0c6d_o.jpg
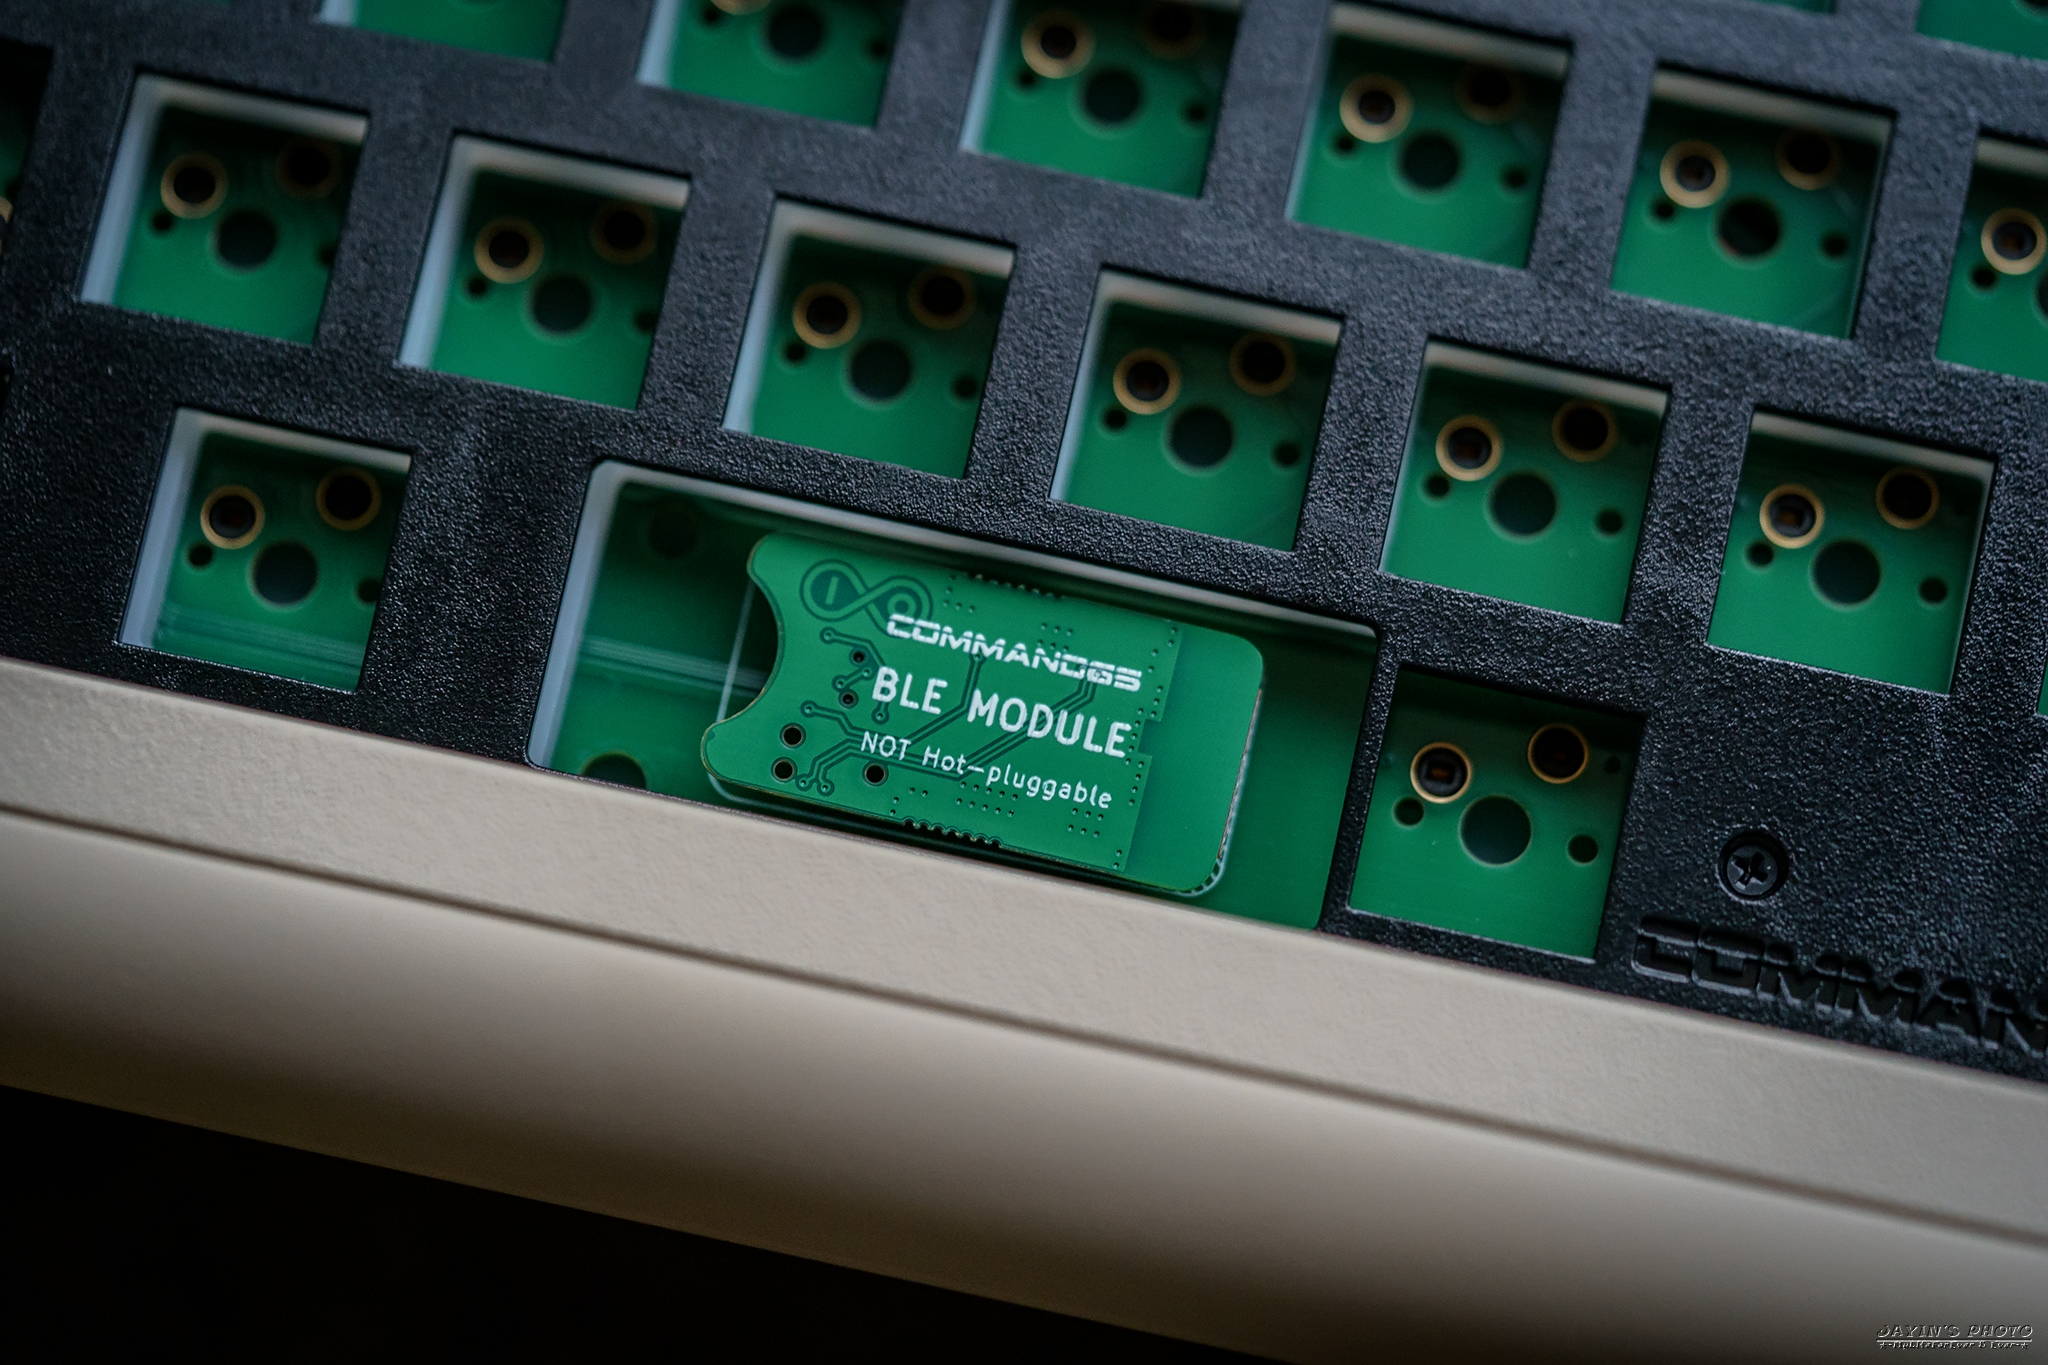
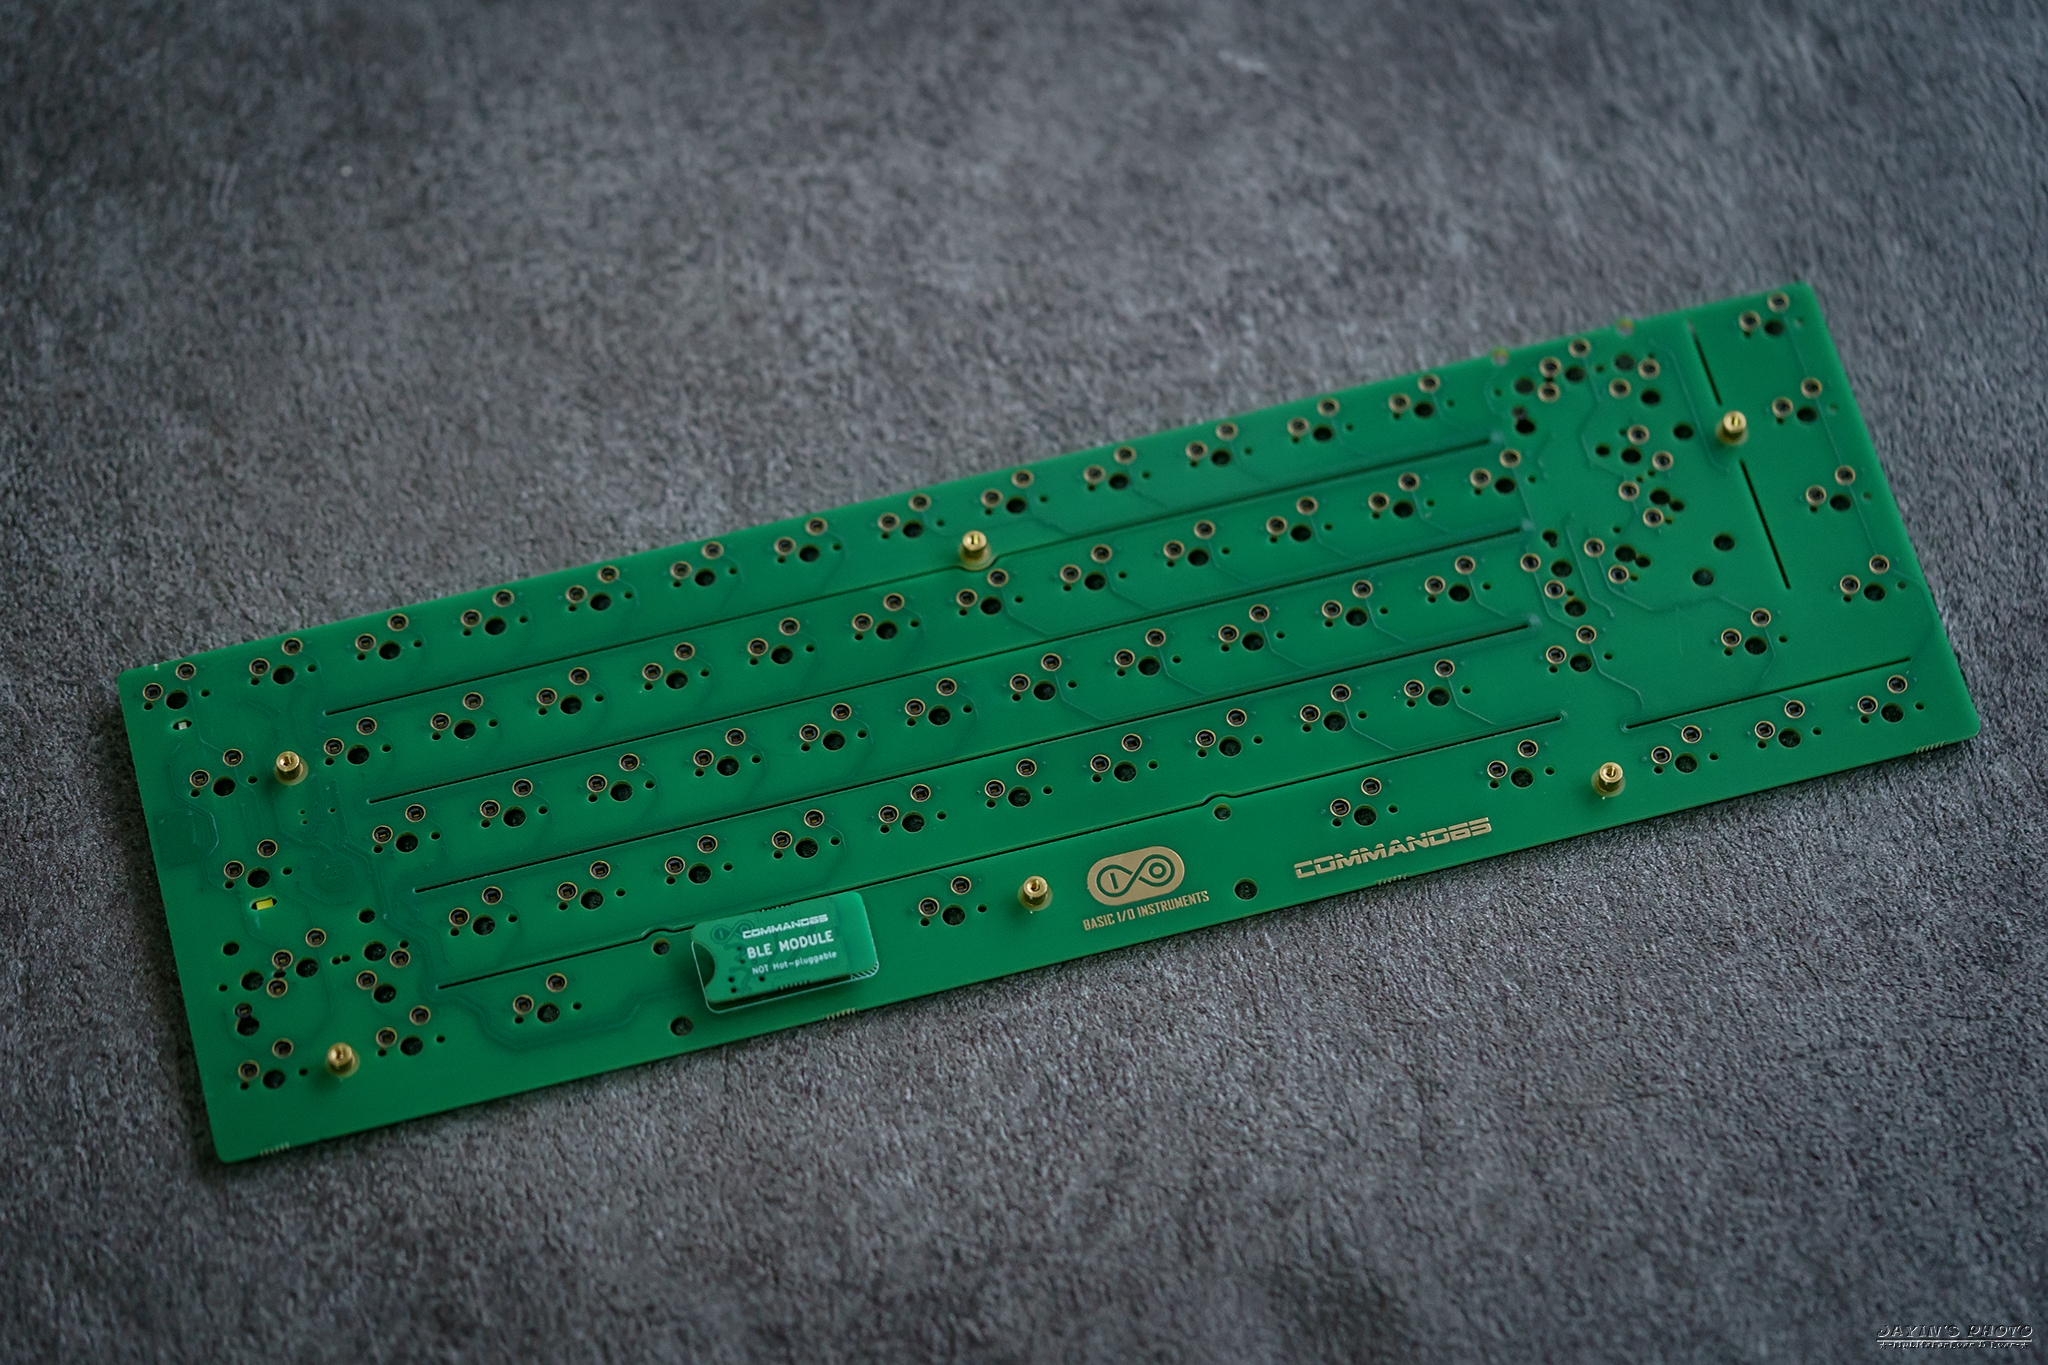
▼空白鍵位置的左方是藍牙模組,寫著"NOT Hot-pluggable",就是不能在接著線的情況
下插拔模組。
https://live.staticflickr.com/65535/52269111768_1669b3d04e_o.jpg
▼定位板的質材應該是POM,中間有矽膠墊,用來減震吸音。
https://live.staticflickr.com/65535/52269111748_40b4fc7ceb_o.jpg

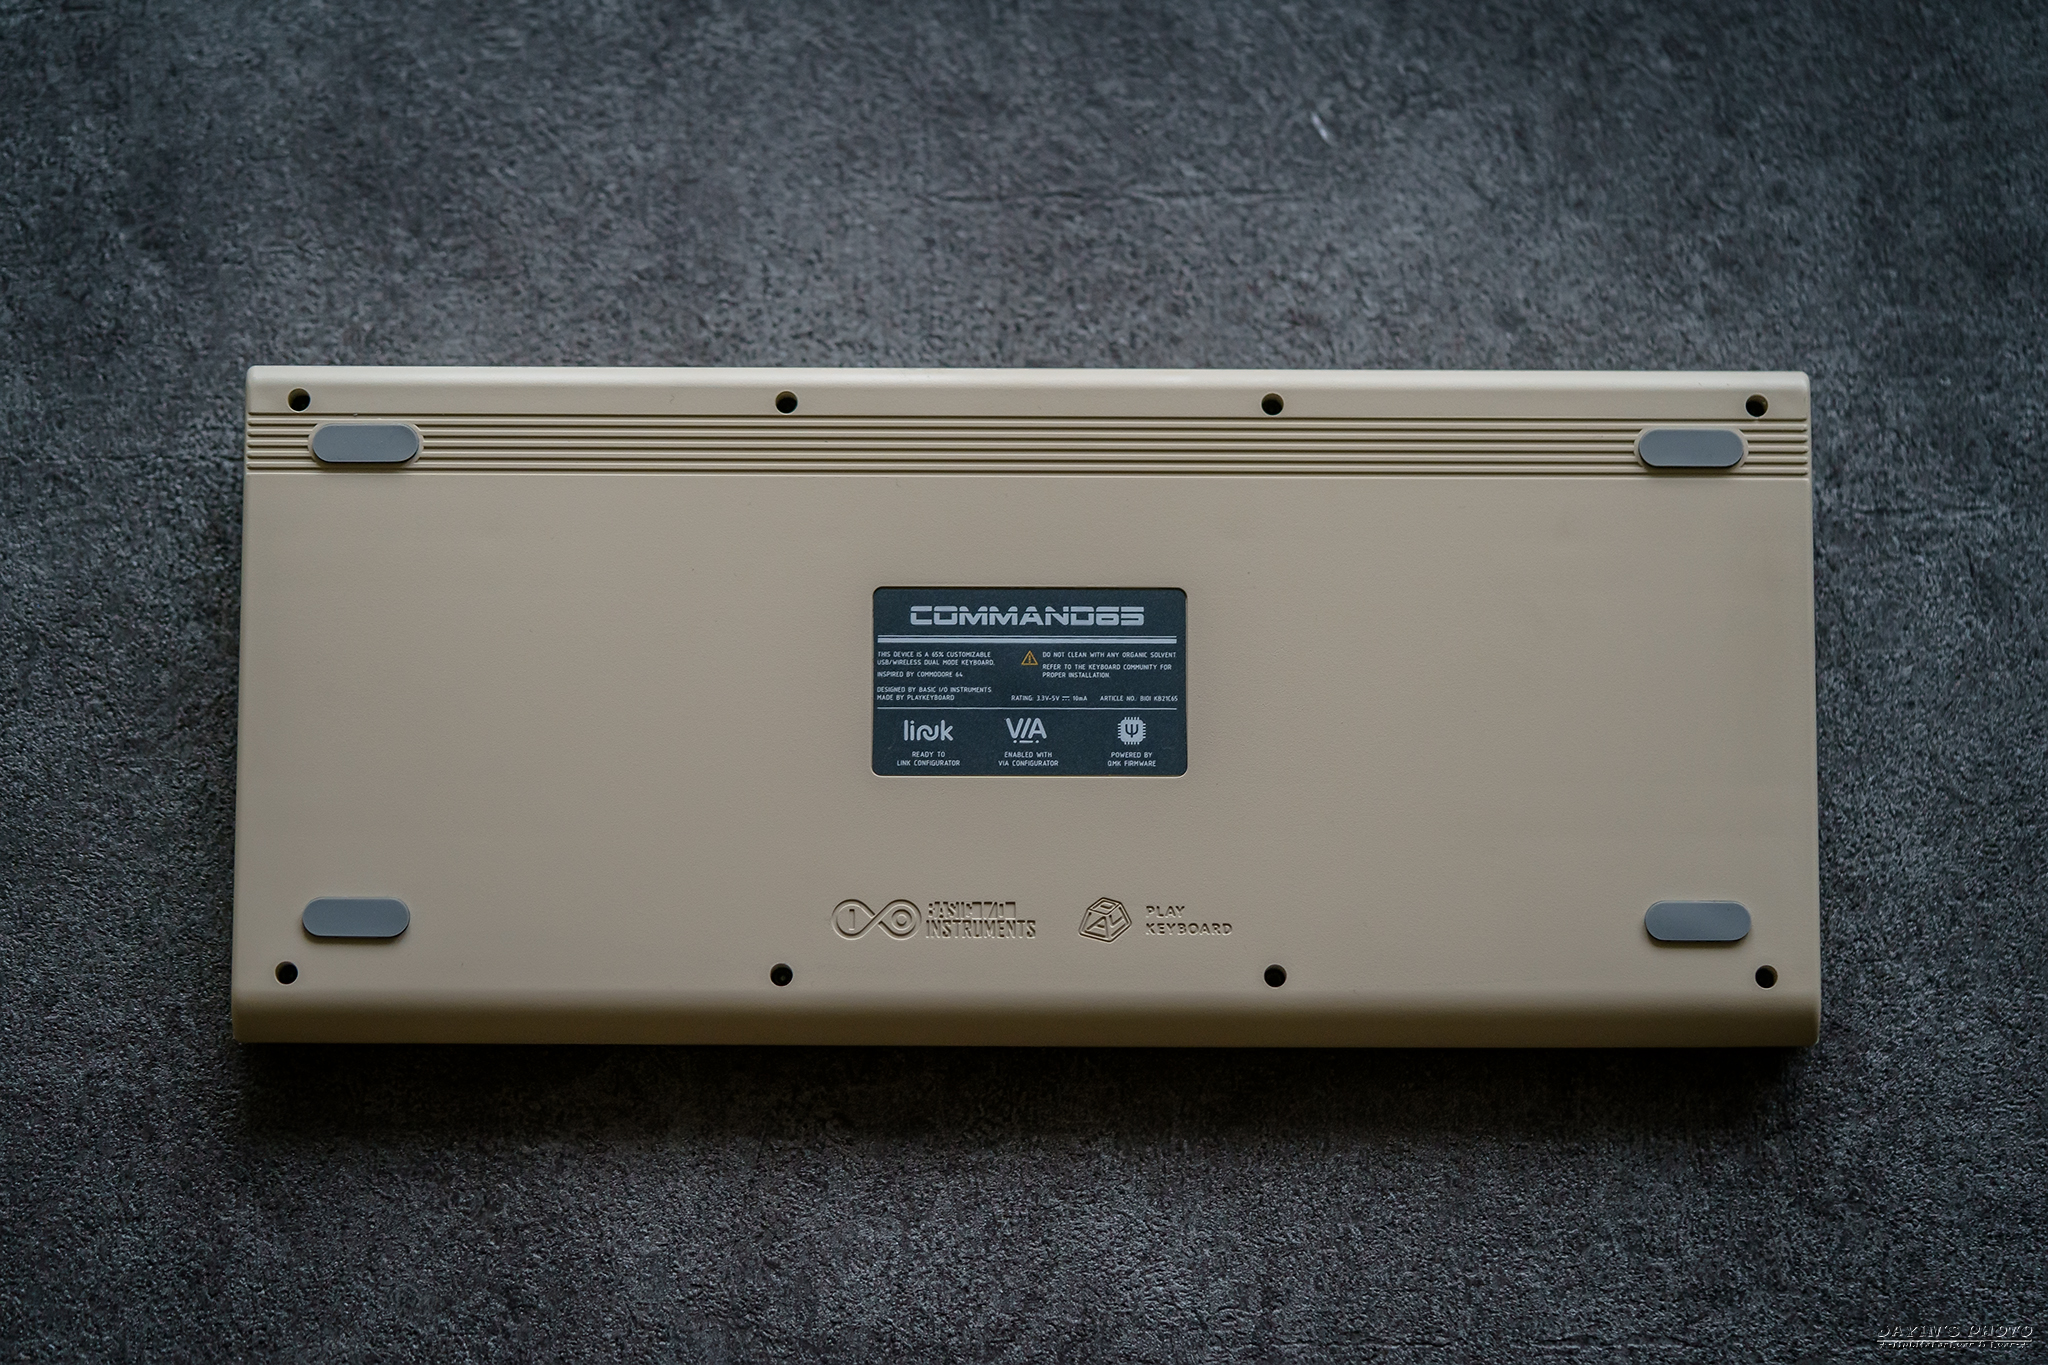
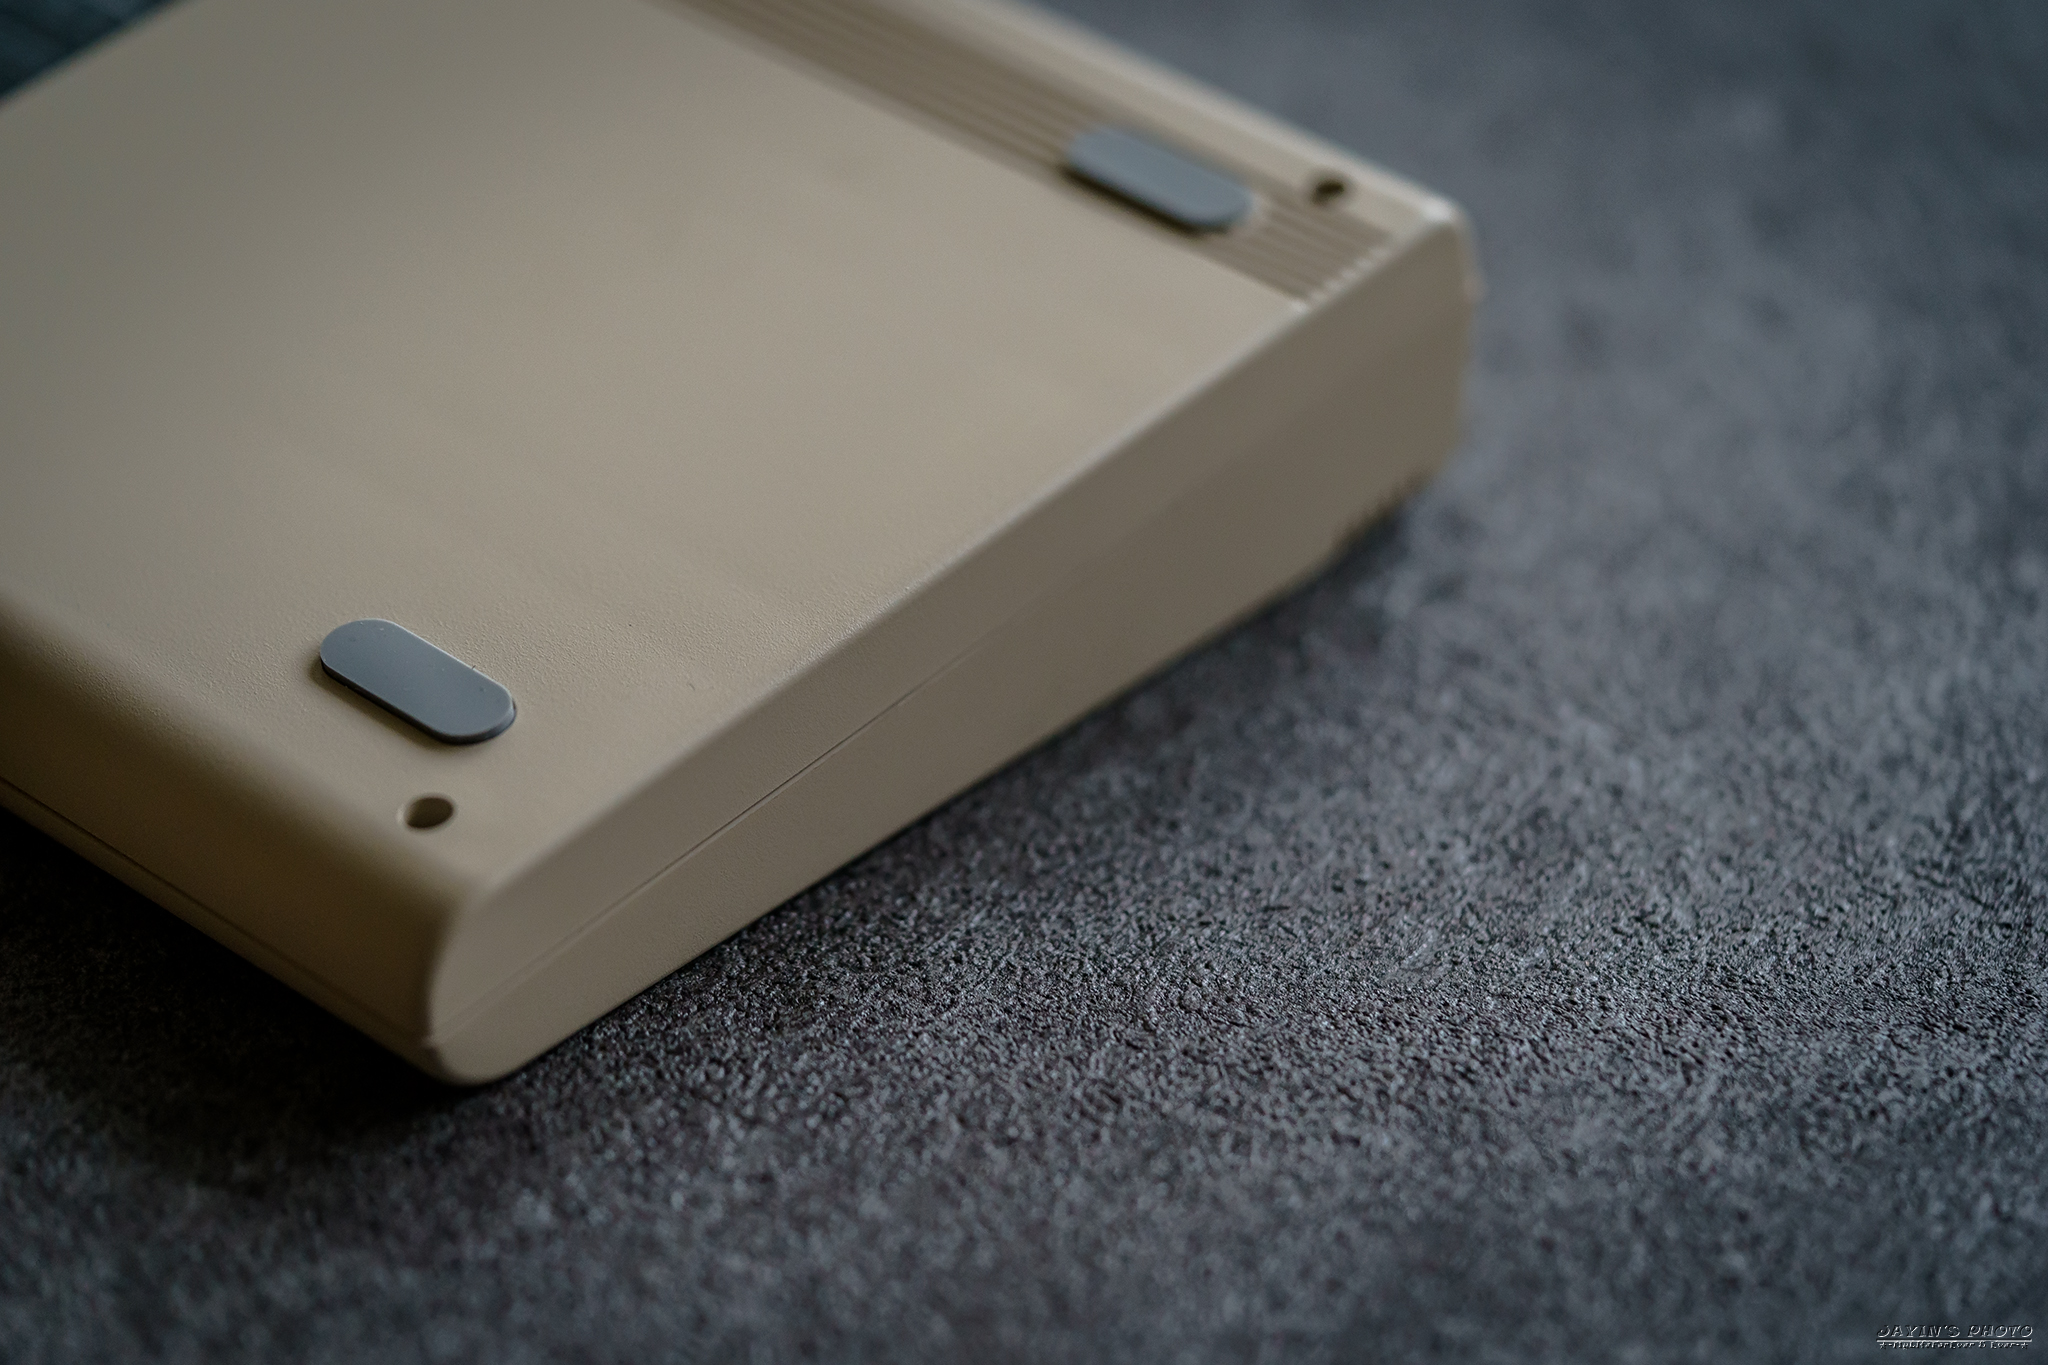
▼Command 65背面,上面同樣有凹槽,四個角落都有止滑墊。
https://live.staticflickr.com/65535/52269092581_0bfdce287e_o.jpg
https://live.staticflickr.com/65535/52269092576_b3470fcb0e_o.jpg
▼這把是採用上下蓋側邊齊平結合的方式,所以在側邊是會有線條的。
https://live.staticflickr.com/65535/52269361374_fd7e59315a_o.jpg
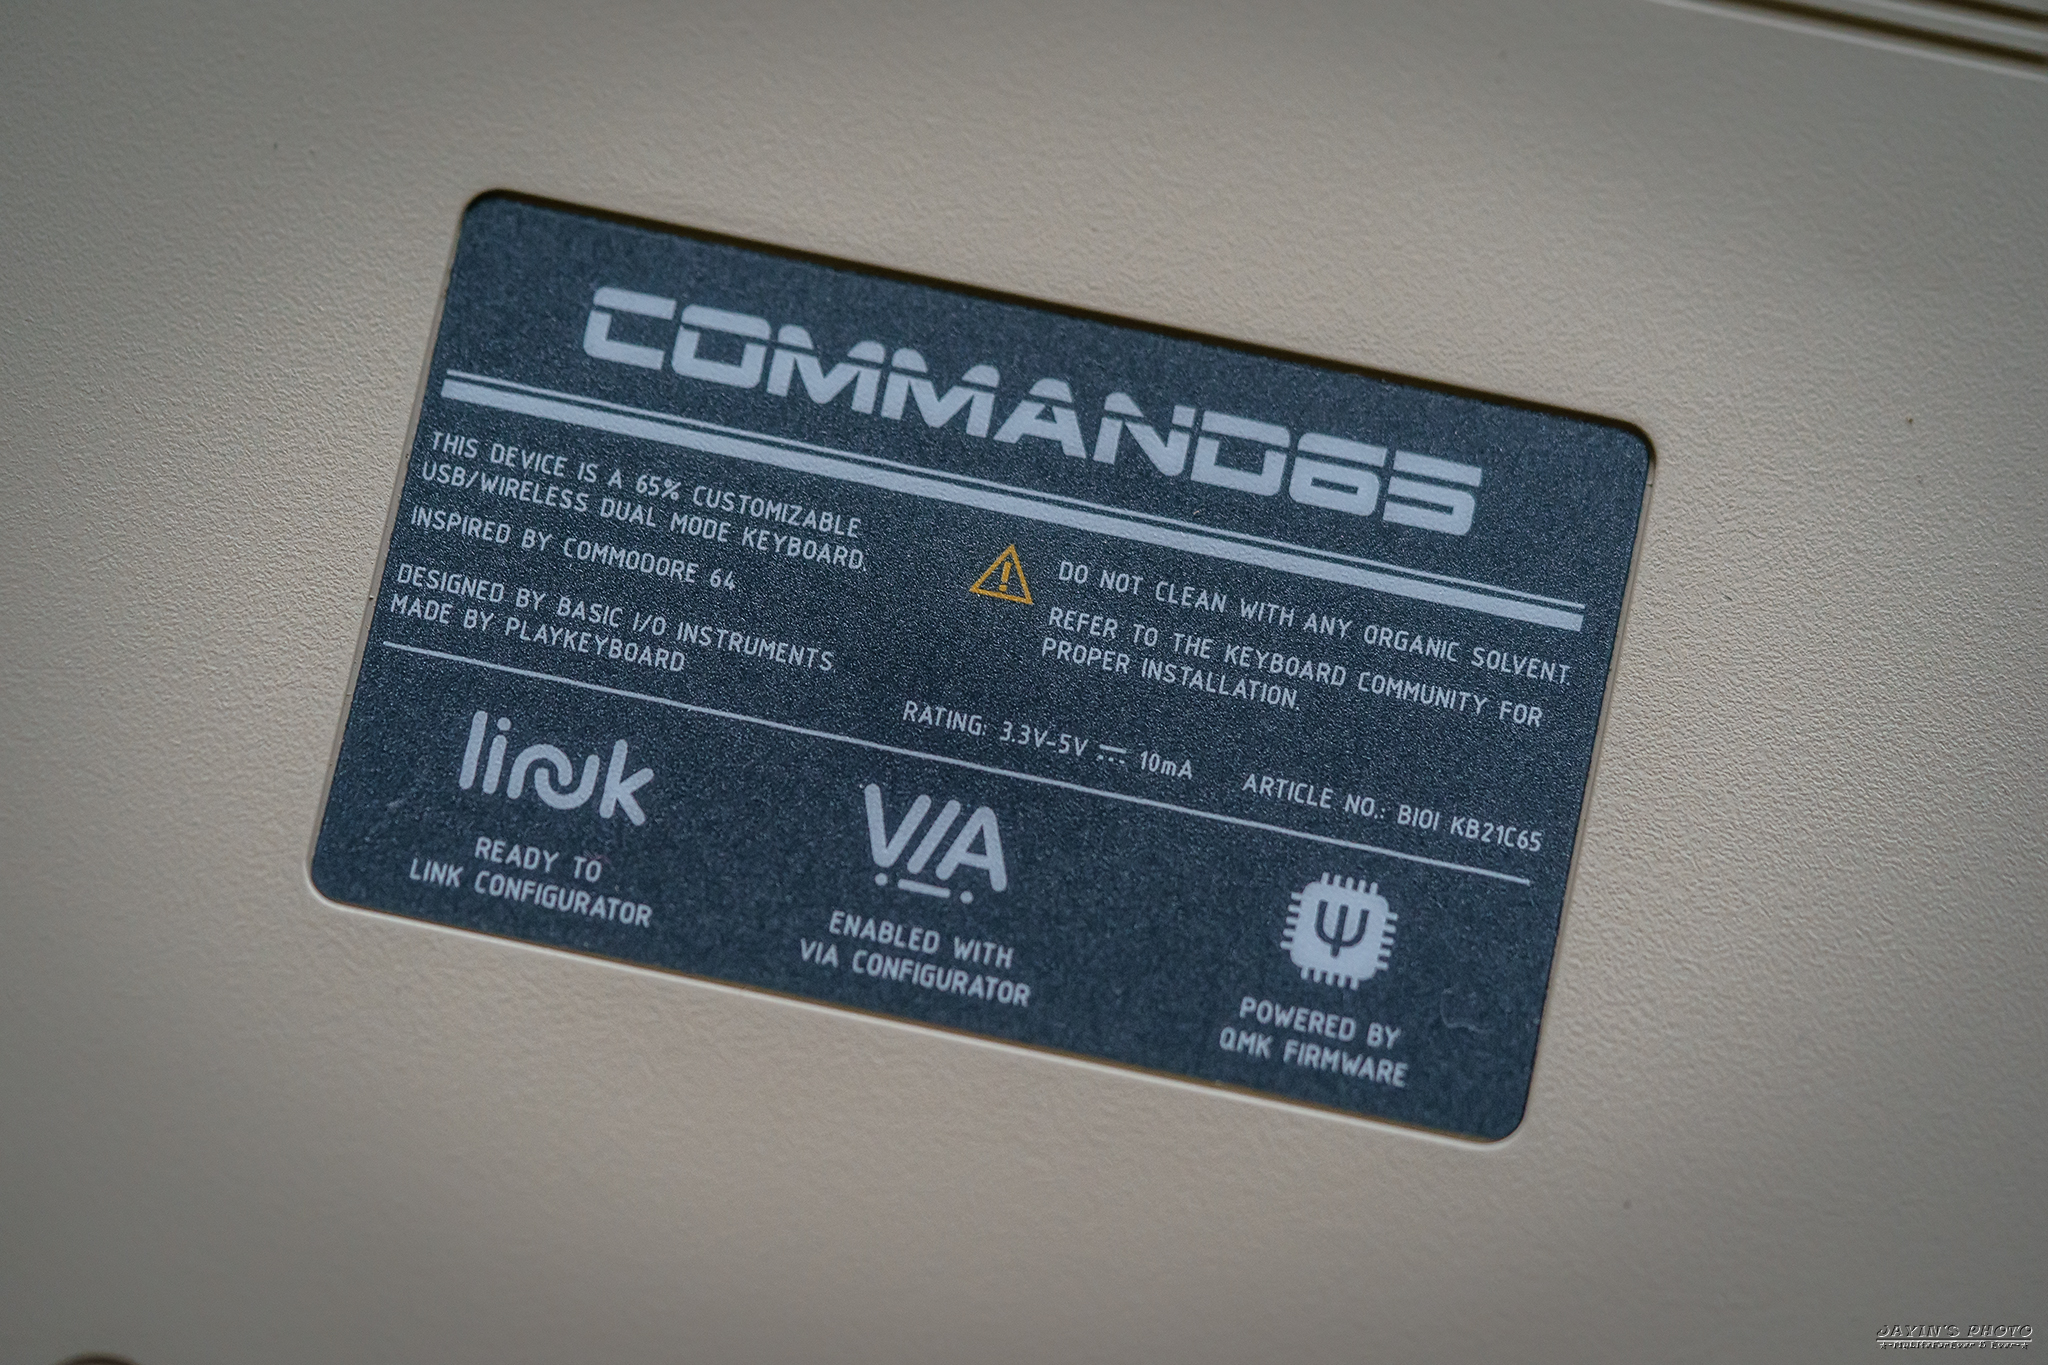
▼銘牌貼紙,可以看出是原型就是Commodore 64。採用QMK Base、支援VIA自定義全鍵位
,看起來之後也可以用LINK。
https://live.staticflickr.com/65535/52269111703_452dff533e_o.jpg
▼背面下方中間則是Basic I/O及Play Keyboard聯名的刻字。
https://live.staticflickr.com/65535/52269092536_695e794291_o.jpg

▼近距離來看一下表面噴塗的效果。
https://live.staticflickr.com/65535/52269581625_cce767a3f2_o.jpg

▼2022下半年了,自然是Type-C接口了,可以同時使用鍵盤及充電。
https://live.staticflickr.com/65535/52269361359_b90c70d0bd_o.jpg

▼拆開八顆螺絲就可以分解Command 65。
https://live.staticflickr.com/65535/52268132532_740248c06a_o.jpg

▼Type-c子板跟電池模組都是分開再以線連接。
https://live.staticflickr.com/65535/52269111613_a53aa7f022_o.jpg

https://live.staticflickr.com/65535/52269581570_b3633f876b_o.jpg
▼藍牙開關及撥桿模組,同樣也是以線連接。
https://live.staticflickr.com/65535/52268132502_c15cd08e92_o.jpg

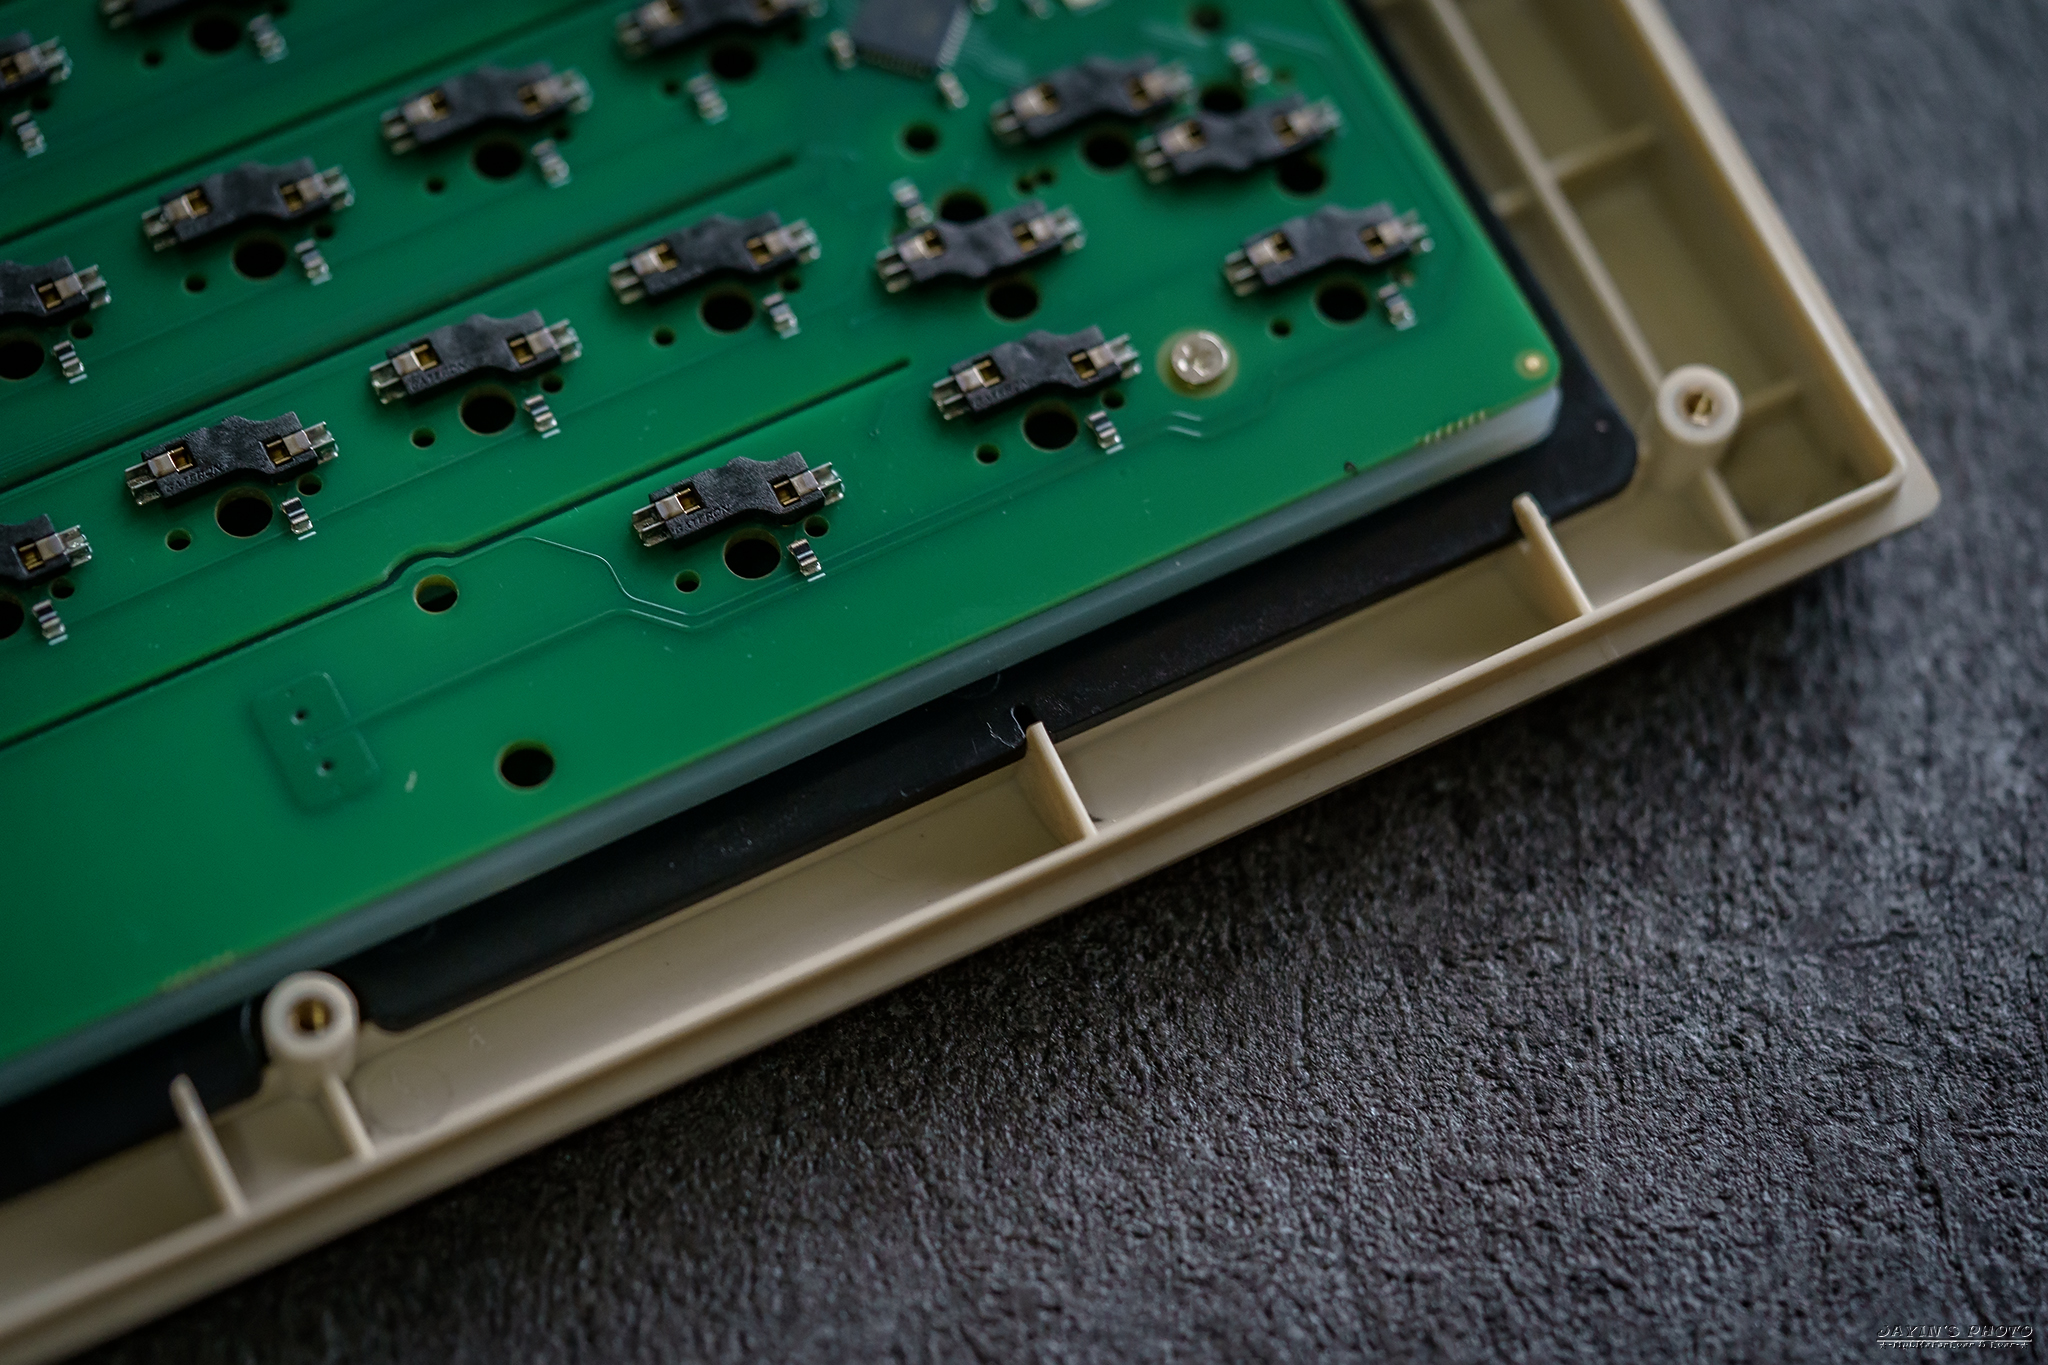
▼這張可以看出定位板的水平位置是卡榫方式固定。
https://live.staticflickr.com/65535/52268132472_812ccdb6d8_o.jpg
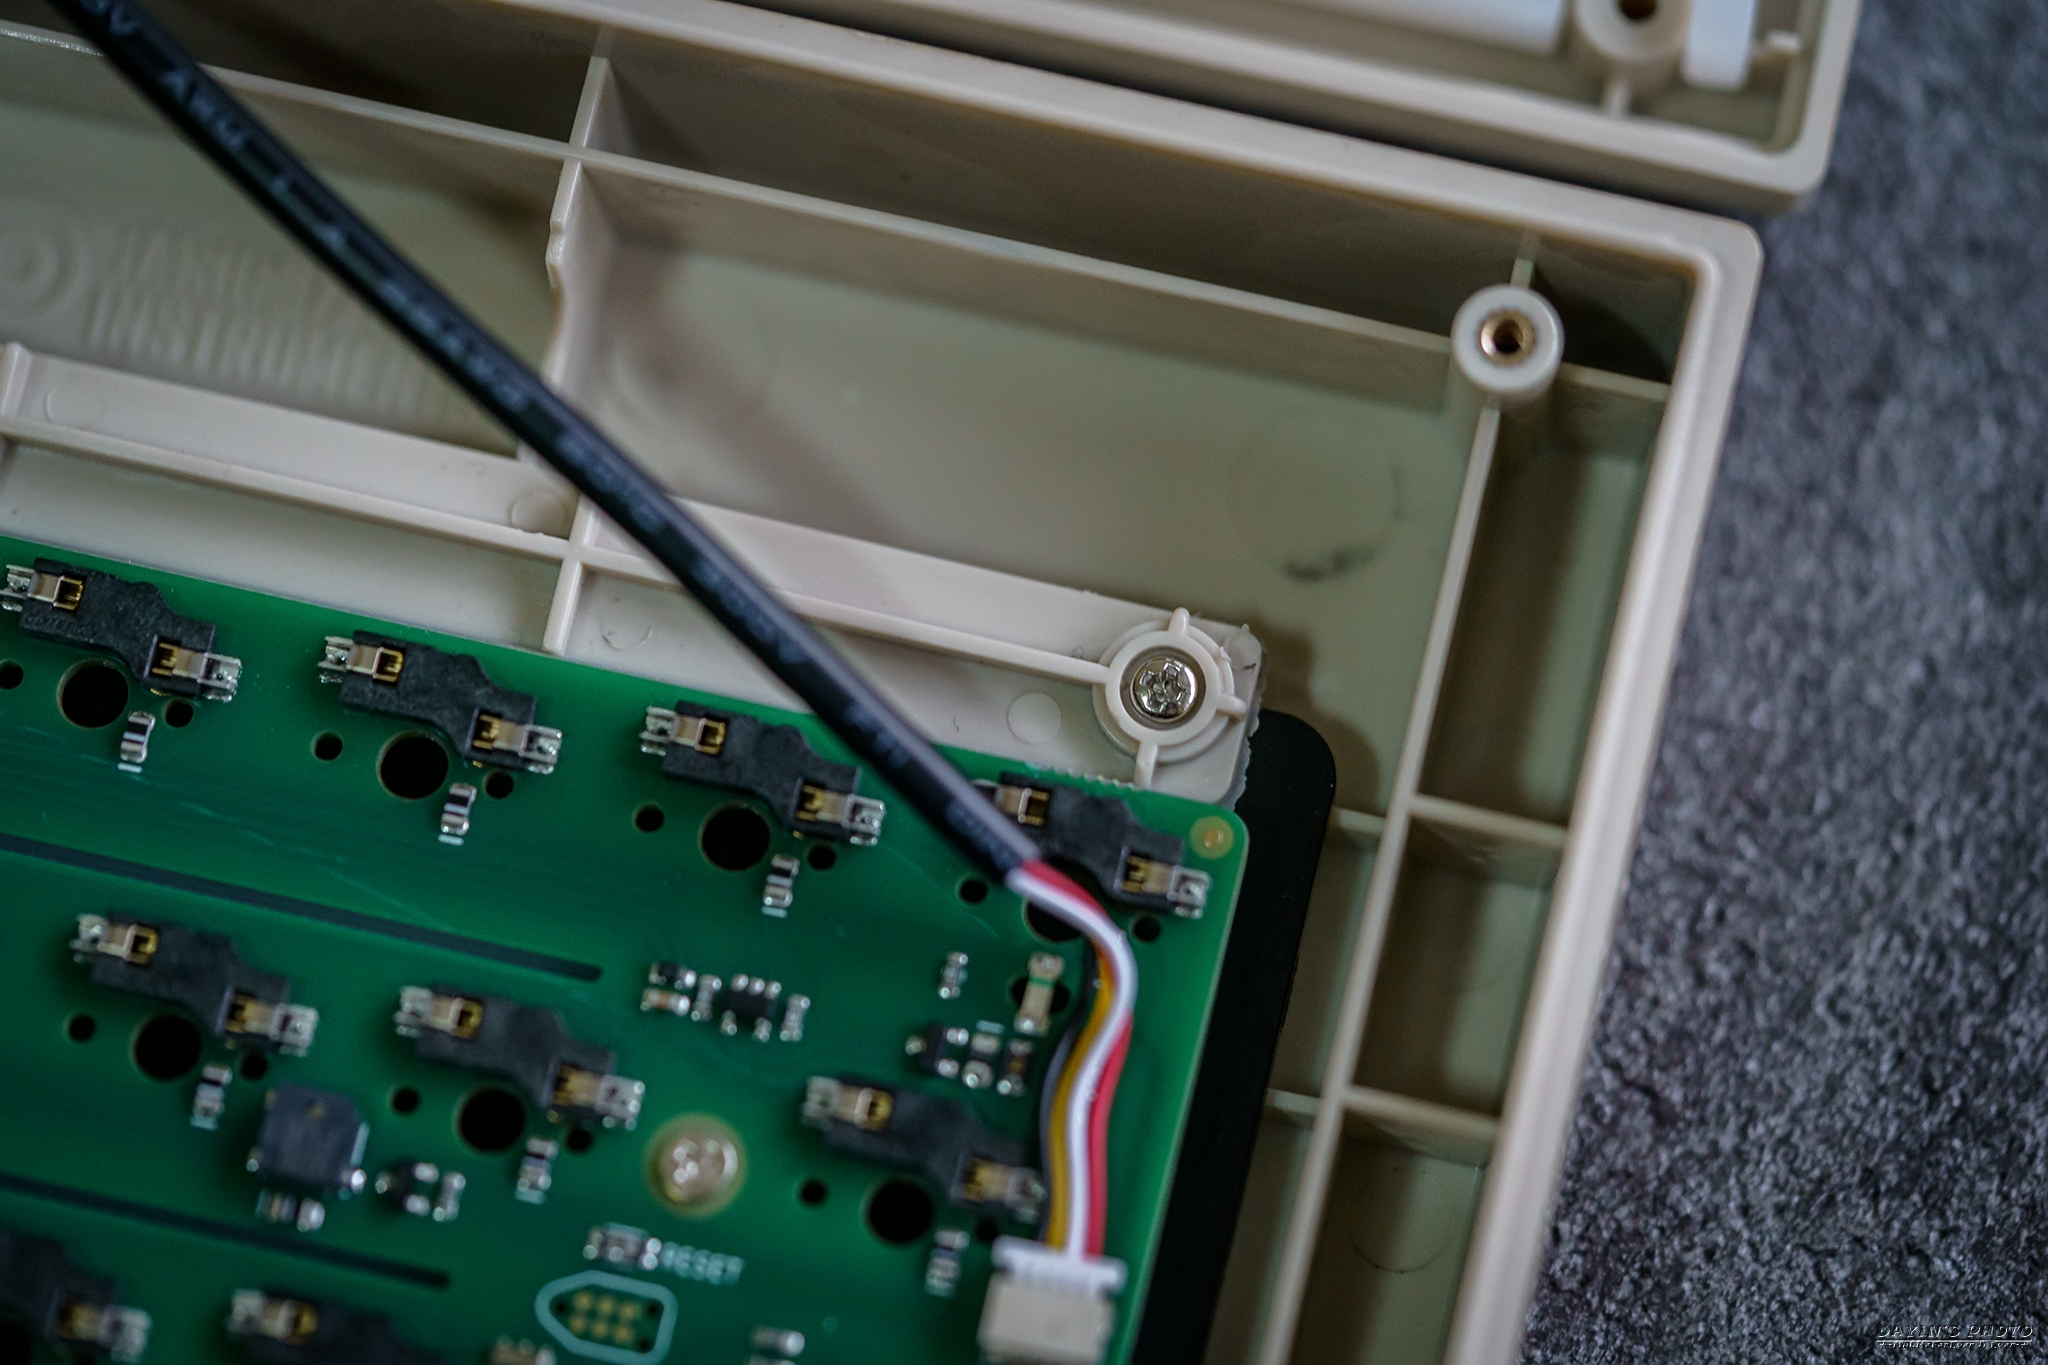
▼然後再用一條橫桿固定在上蓋。
https://live.staticflickr.com/65535/52269111118_9cae4f50a4_o.jpg
▼橫桿拆開的樣子,這種作法就像Gasket-Top的感覺。
https://live.staticflickr.com/65535/52269581530_885d04a696_o.jpg
https://live.staticflickr.com/65535/52269361829_cc0f6f935d_o.jpg

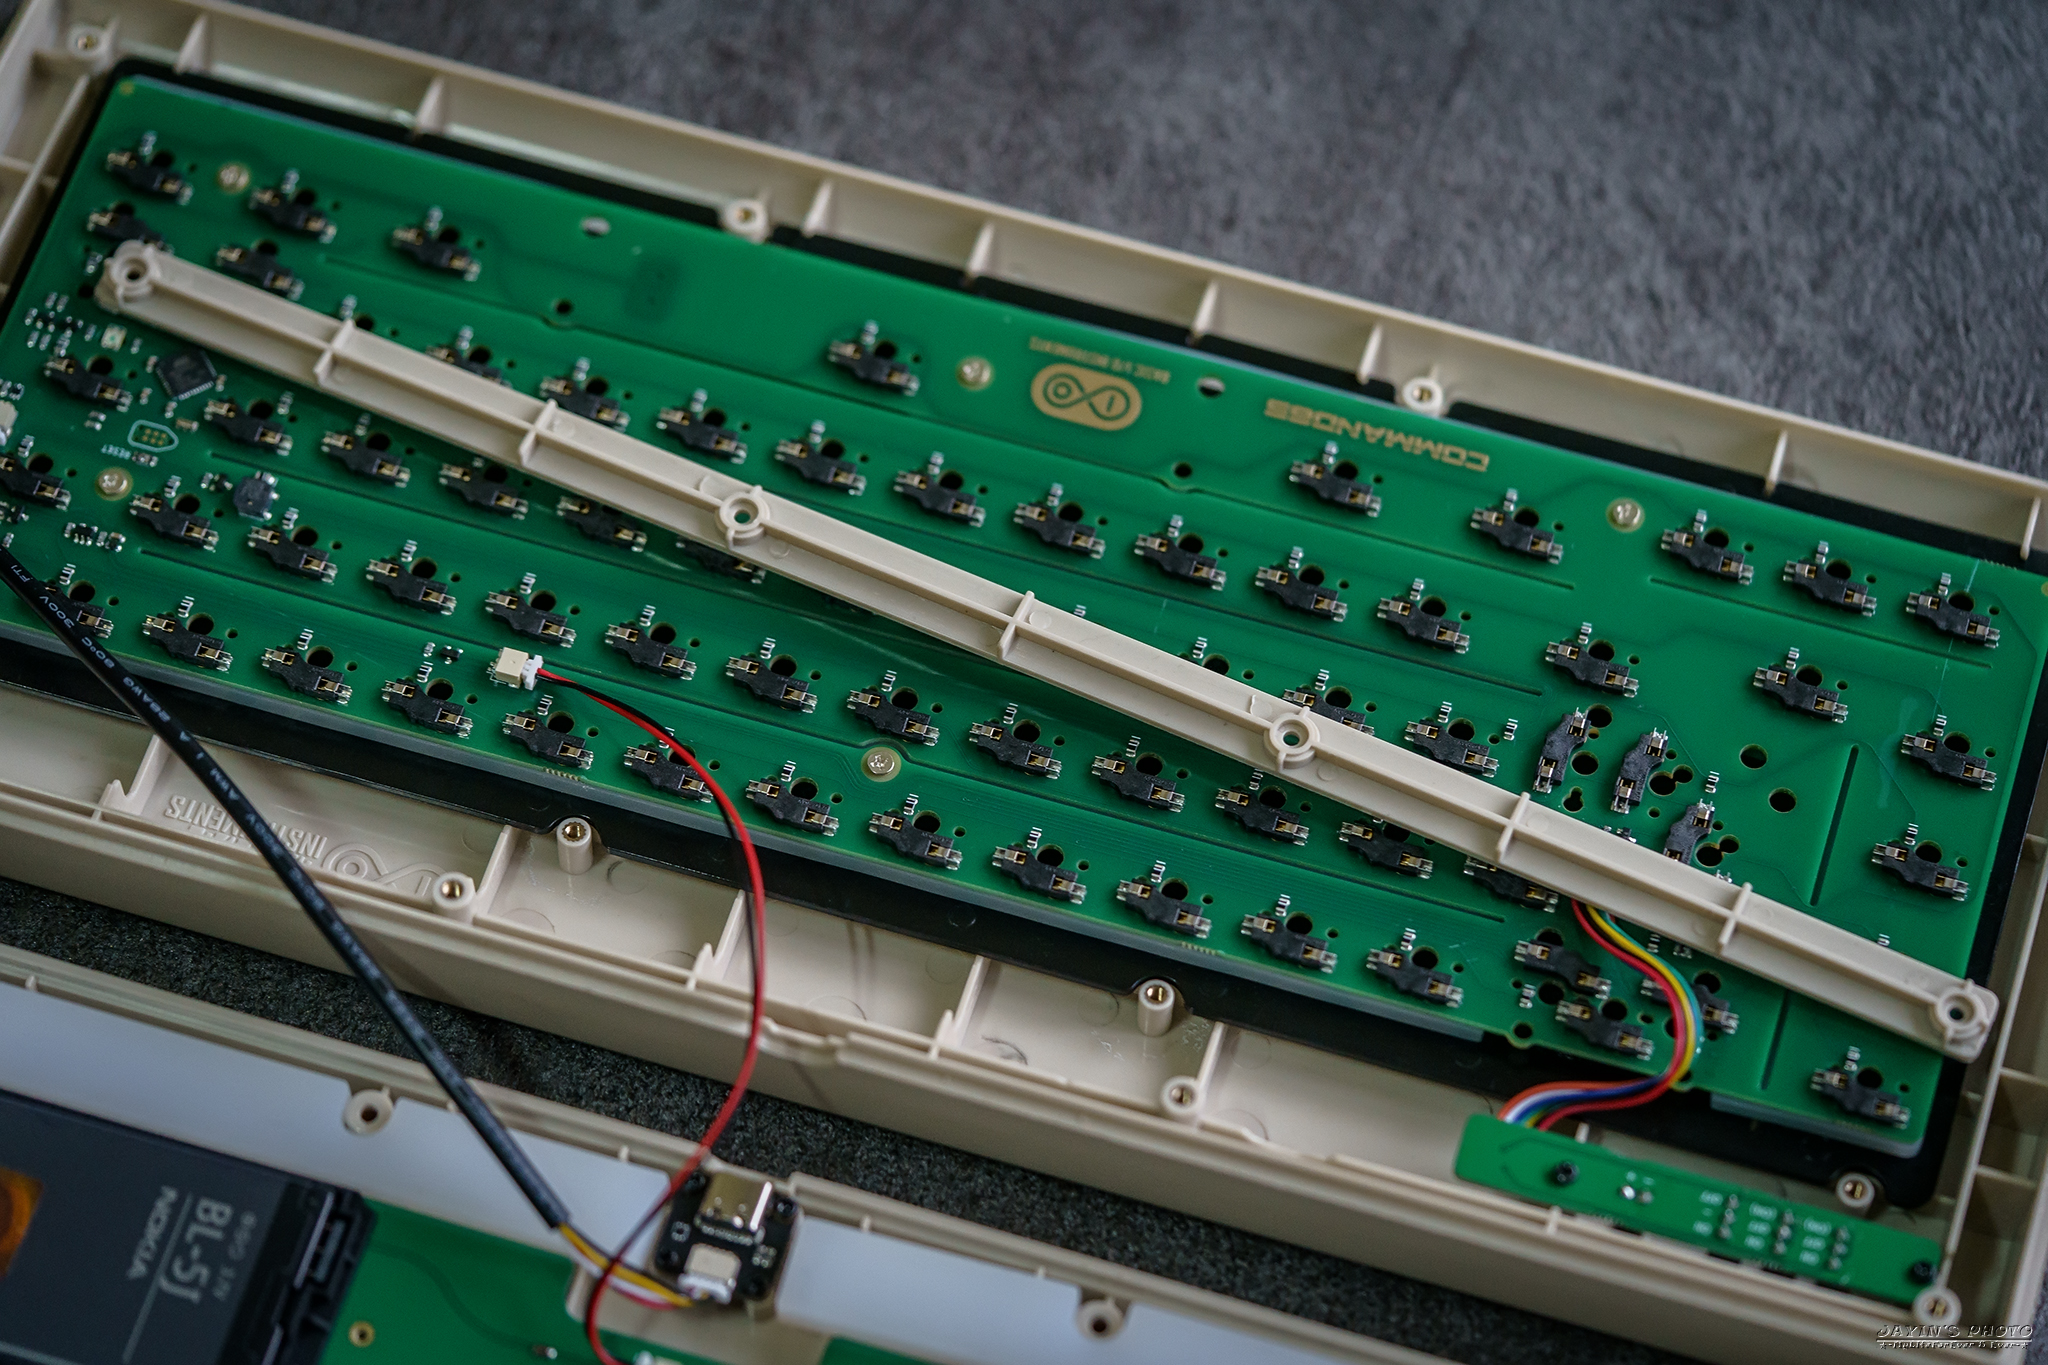
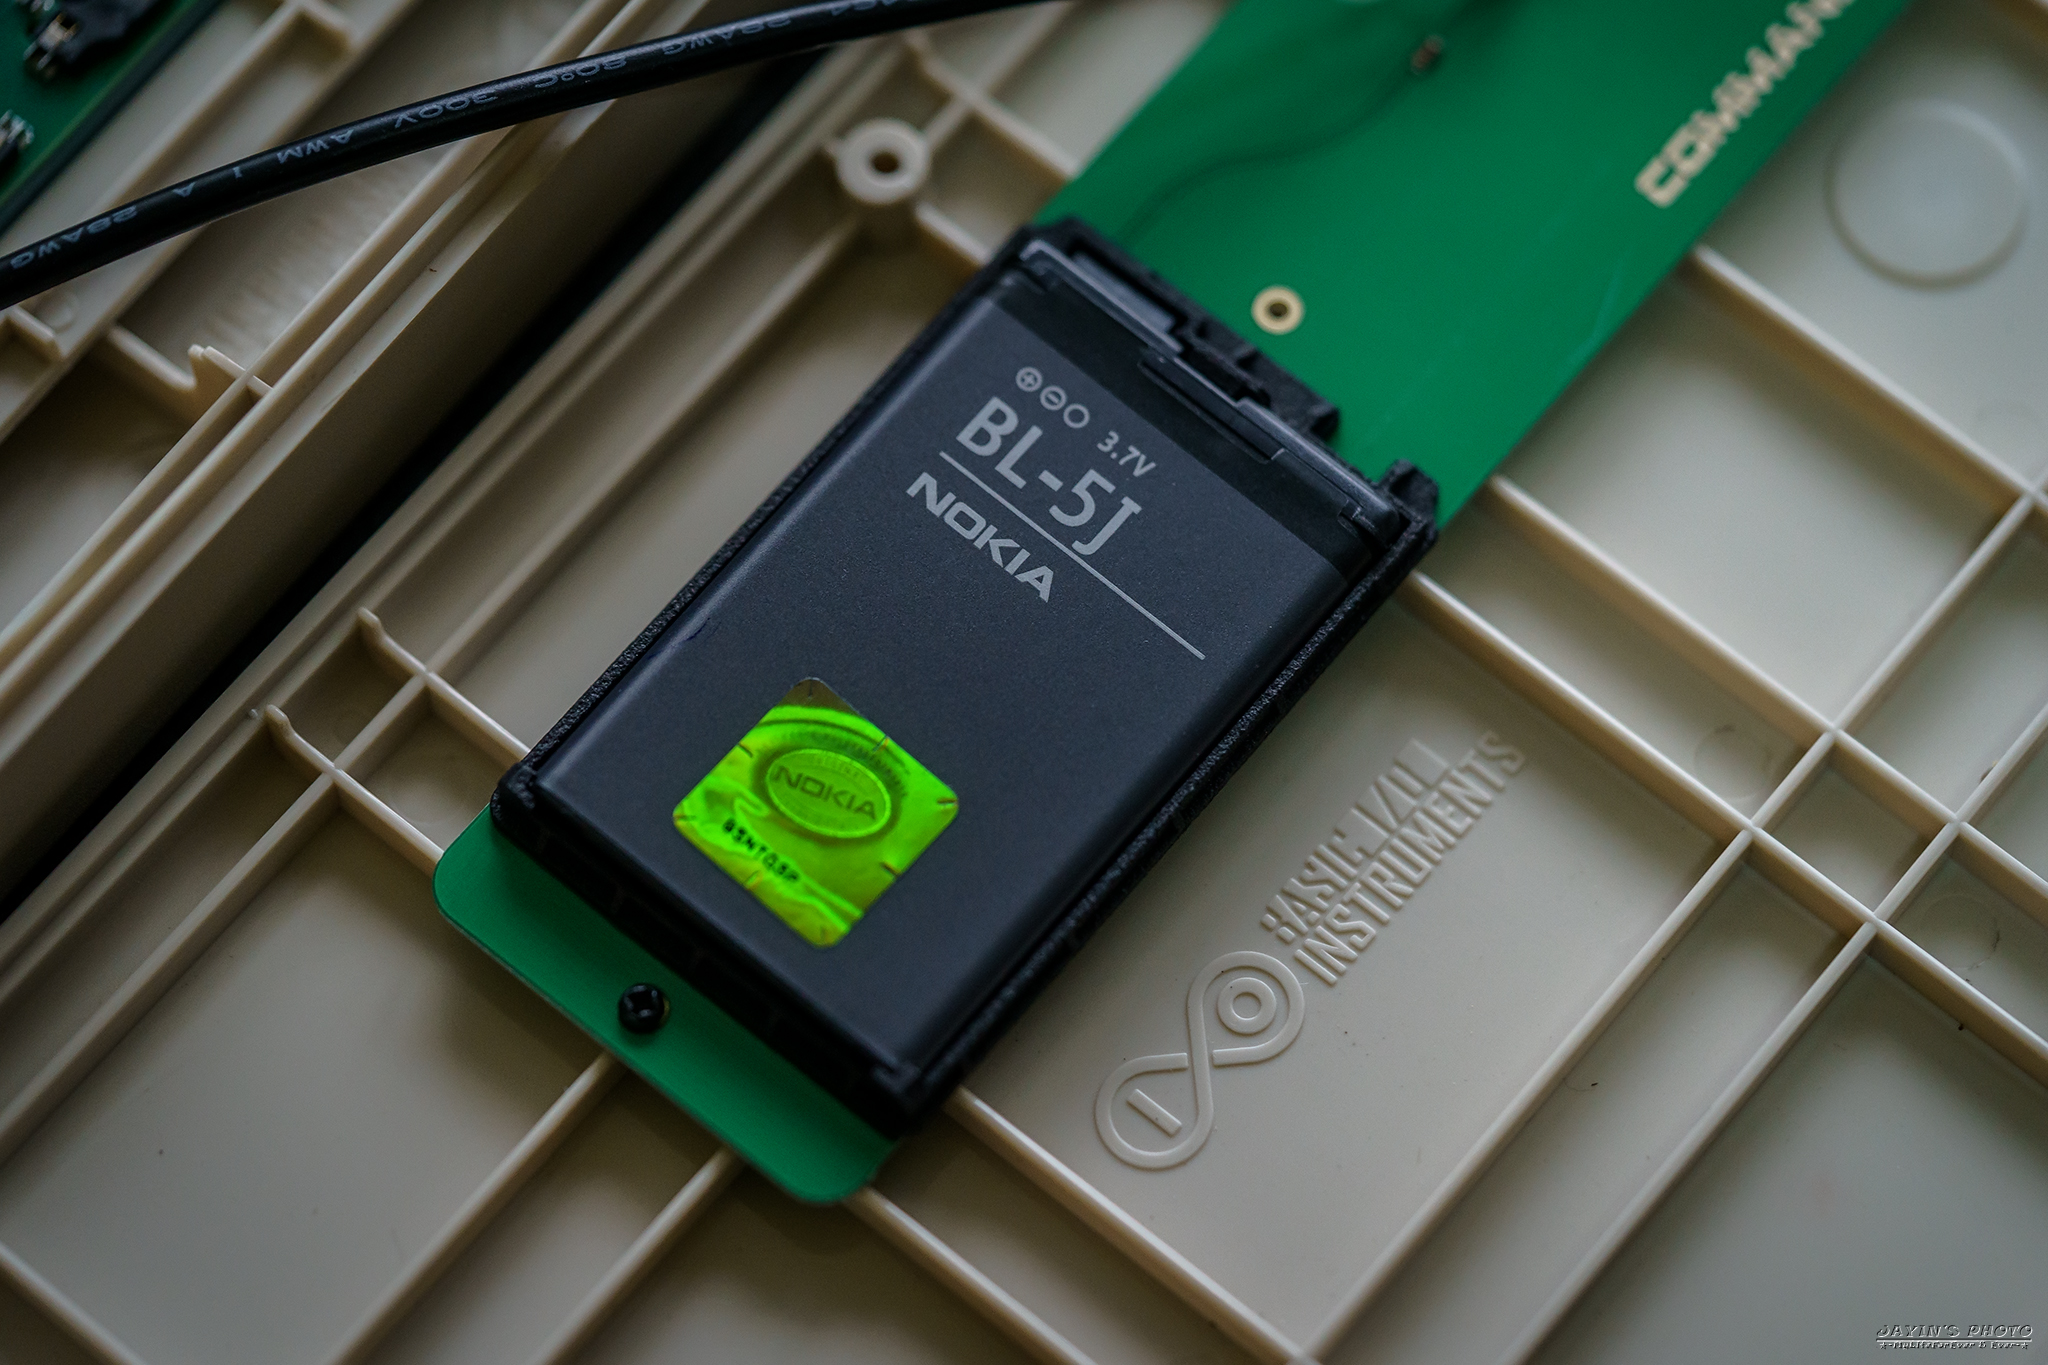
▼拿掉底殼矽膠墊,可以看到滿滿的加強筋,然後電池模組鎖在底殼上。
https://live.staticflickr.com/65535/52269111548_58fecda1b6_o.jpg
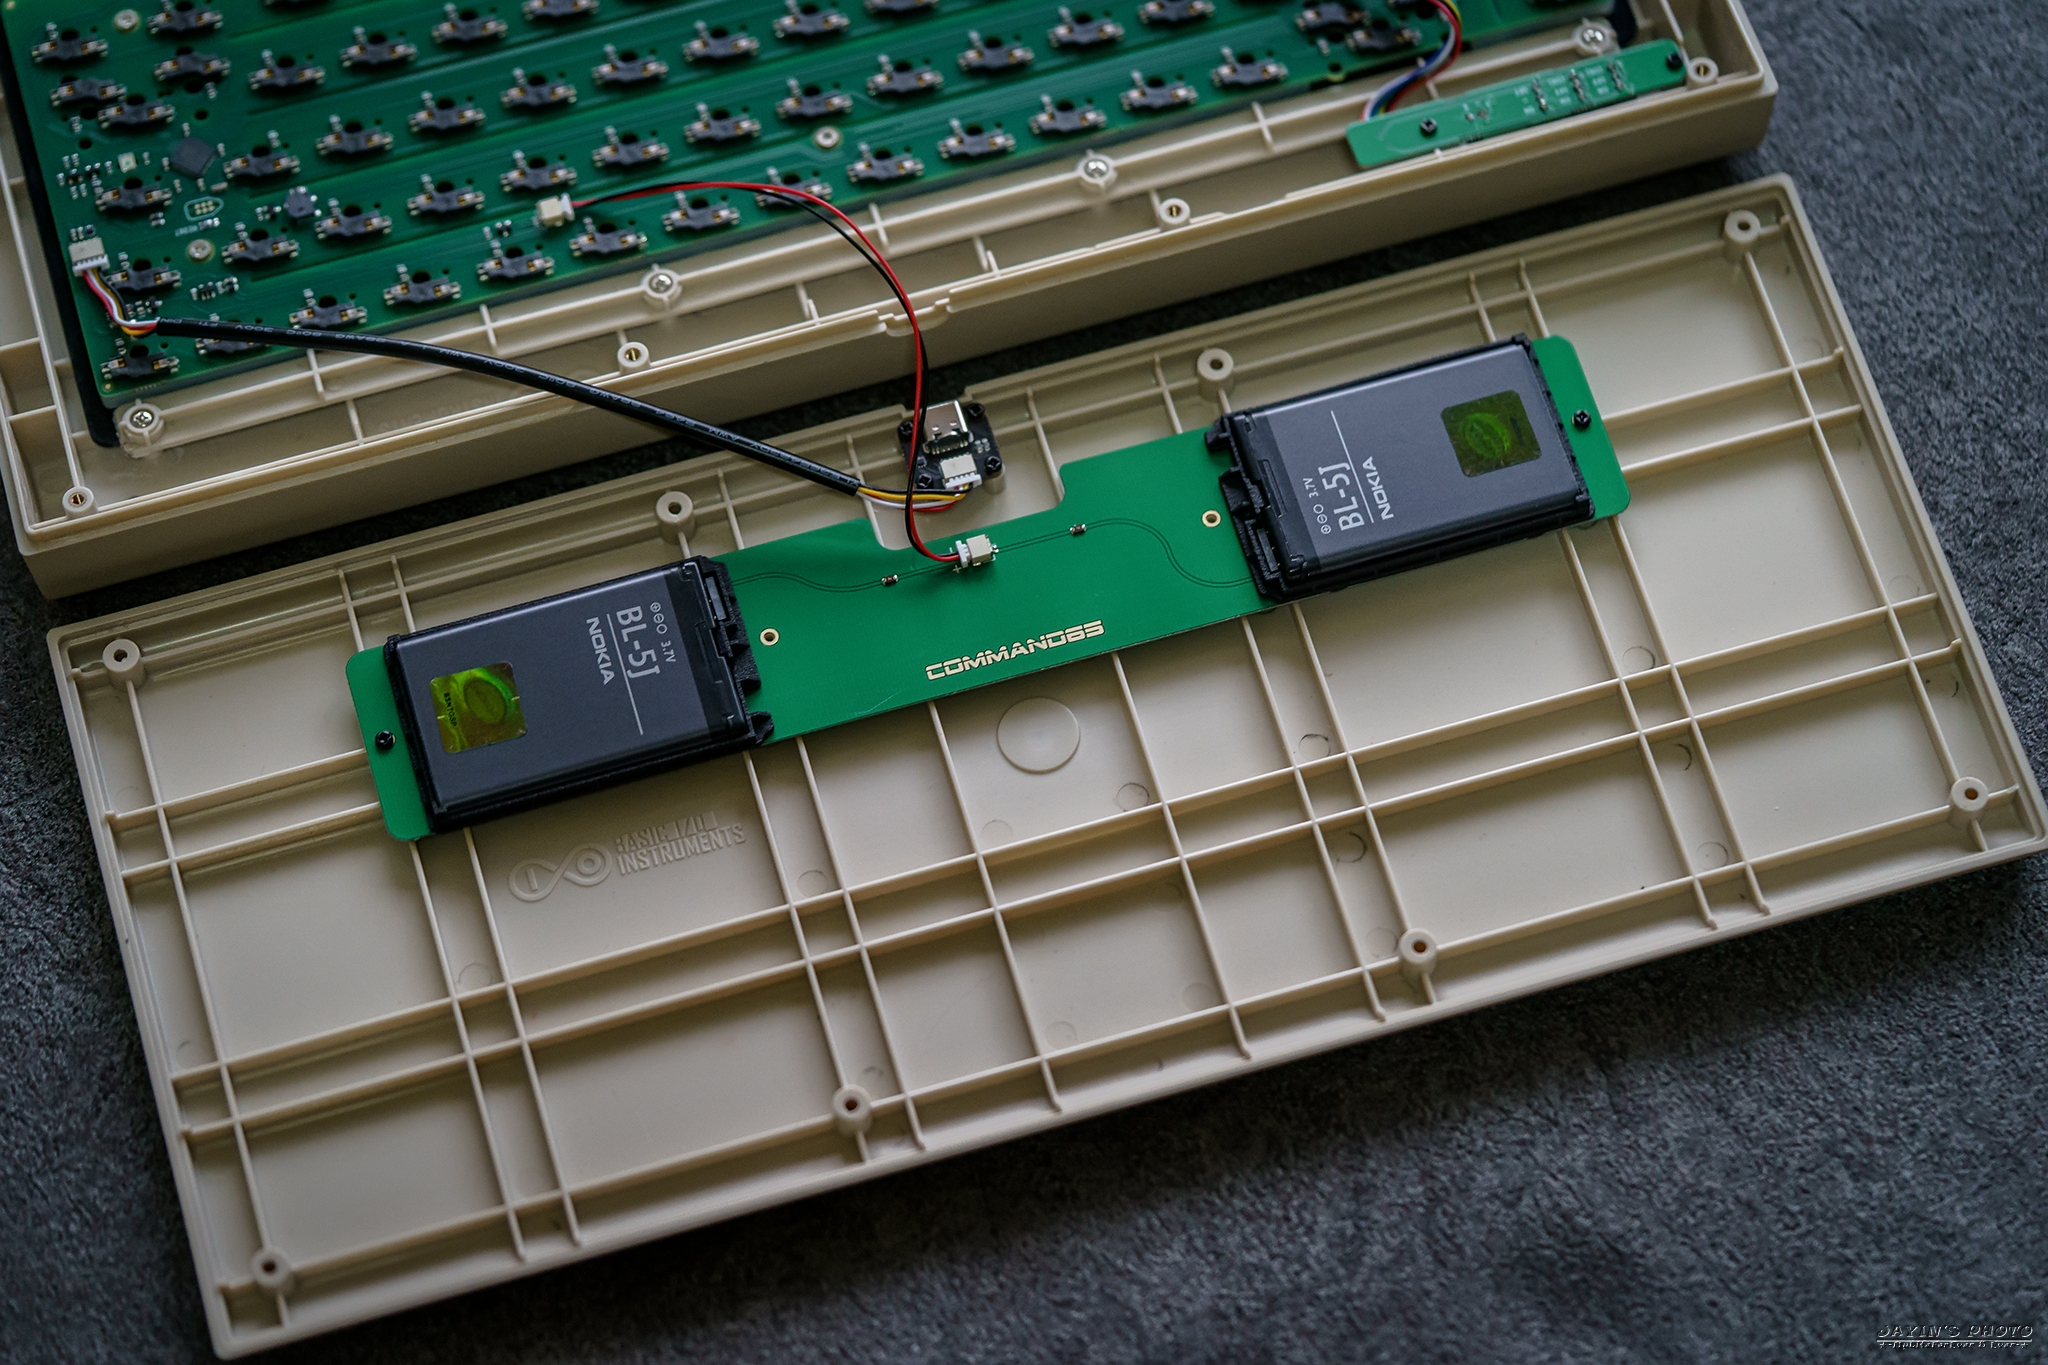
https://live.staticflickr.com/65535/52268132452_34cdacc48c_o.jpg

▼矽膠底墊的厚度還厚的,不過實際上沒有直接頂到PCB,所以在按壓的時候還是可以有
往下沉的空間。
https://live.staticflickr.com/65535/52269092436_e6bc0f48b6_o.jpg

▼底墊同樣刻有COMMAND 65。
https://live.staticflickr.com/65535/52269092416_ba7dd91b25_o.jpg

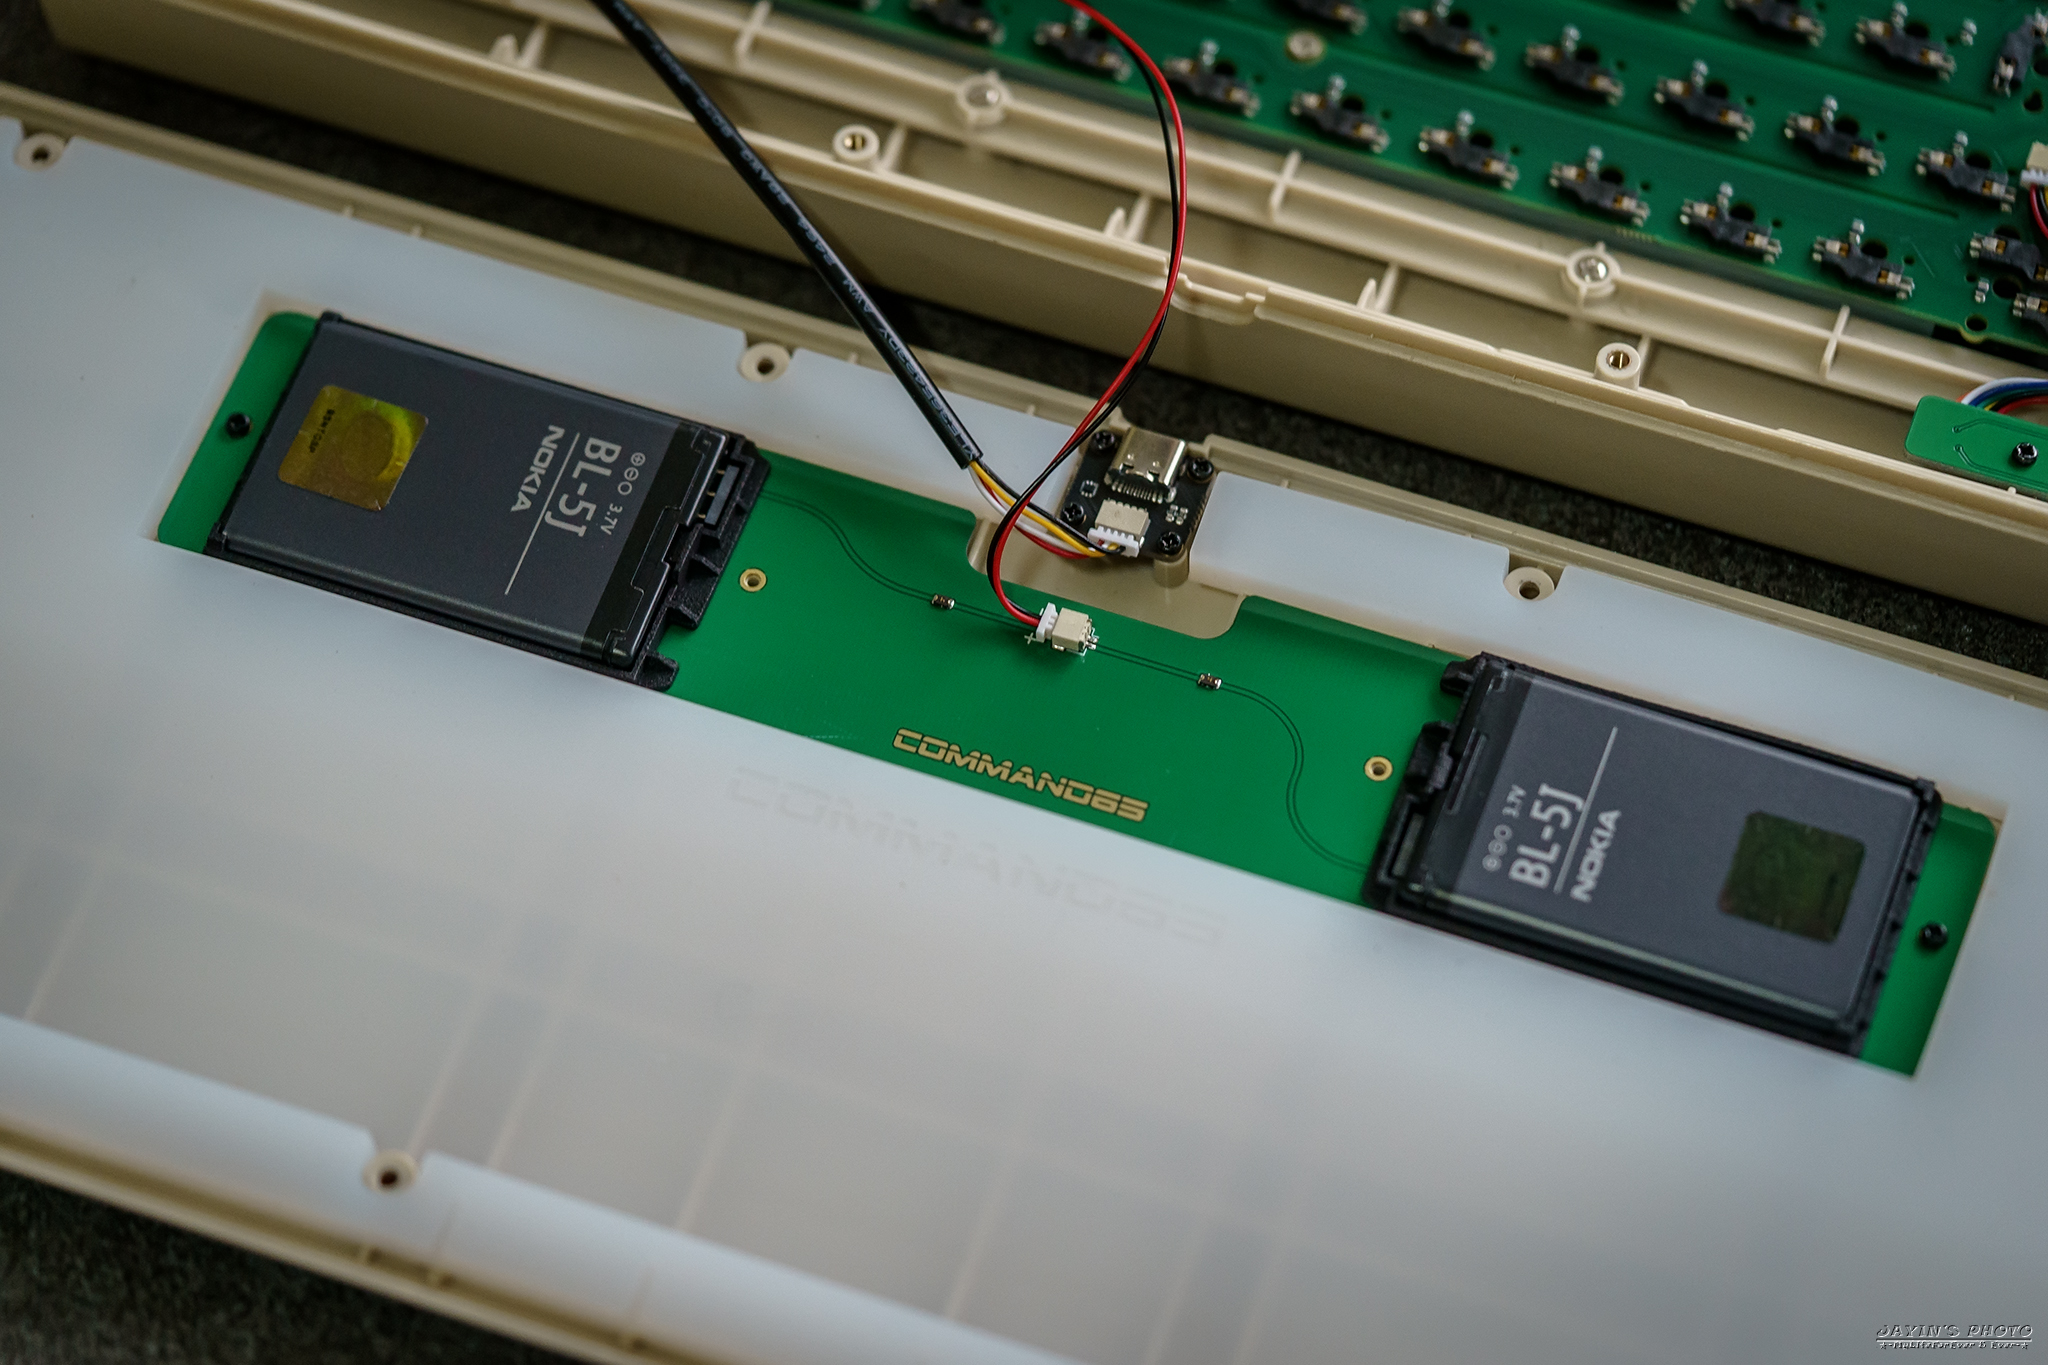
▼電池是NOKIA的,好久不見。
https://live.staticflickr.com/65535/52269111493_b0d79e47f5_o.jpg
▼拆下來的撥桿模組,據說是日製的。
https://live.staticflickr.com/65535/52269581485_15dfa591b5_o.jpg

▼PCB是綠色的,熱插拔,上面有銅柱,其實我個人不太喜歡把定位板跟PCB以銅柱鎖住,
感覺會減少一些彈性。
https://live.staticflickr.com/65535/52269092371_e9d0e675e3_o.jpg
▼重新合體,裝上GMK PCB螺絲衛星軸以及JWK Ultimate Black。
https://live.staticflickr.com/65535/52269581435_bbeedb5e9c_o.jpg

https://live.staticflickr.com/65535/52269111433_20a7cc63d0_o.jpg
https://live.staticflickr.com/65535/52269581045_8abb1d6e7f_o.jpg

https://live.staticflickr.com/65535/52269111373_d4d32d223a_o.jpg

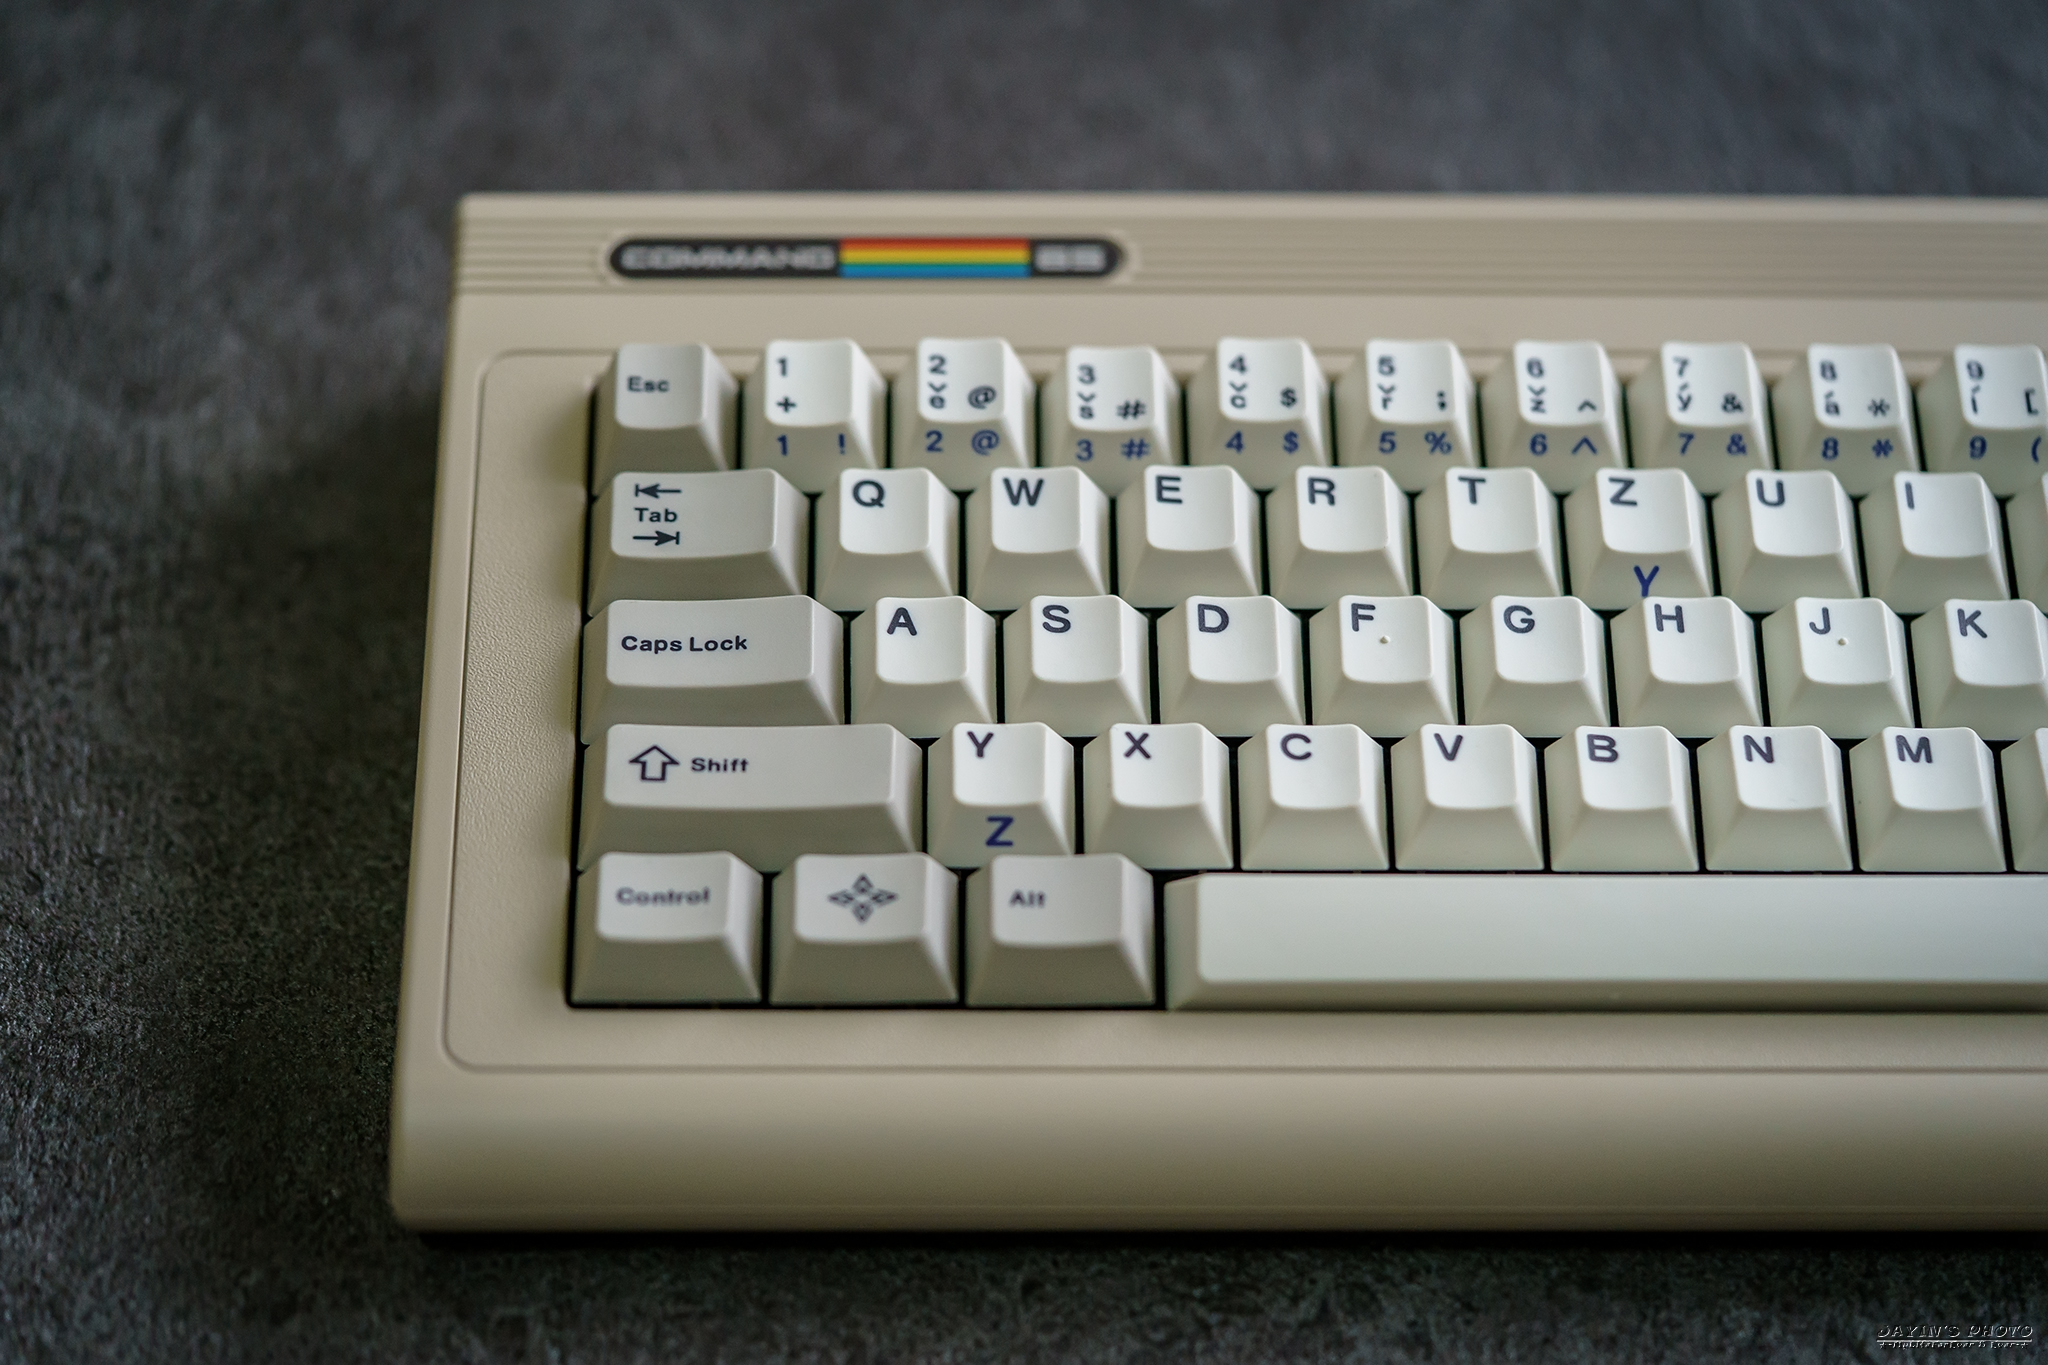
▼要復古自然就要拿出CRP了,CRP R3 Peacock。
https://live.staticflickr.com/65535/52269092336_f20b29ddc2_o.jpg
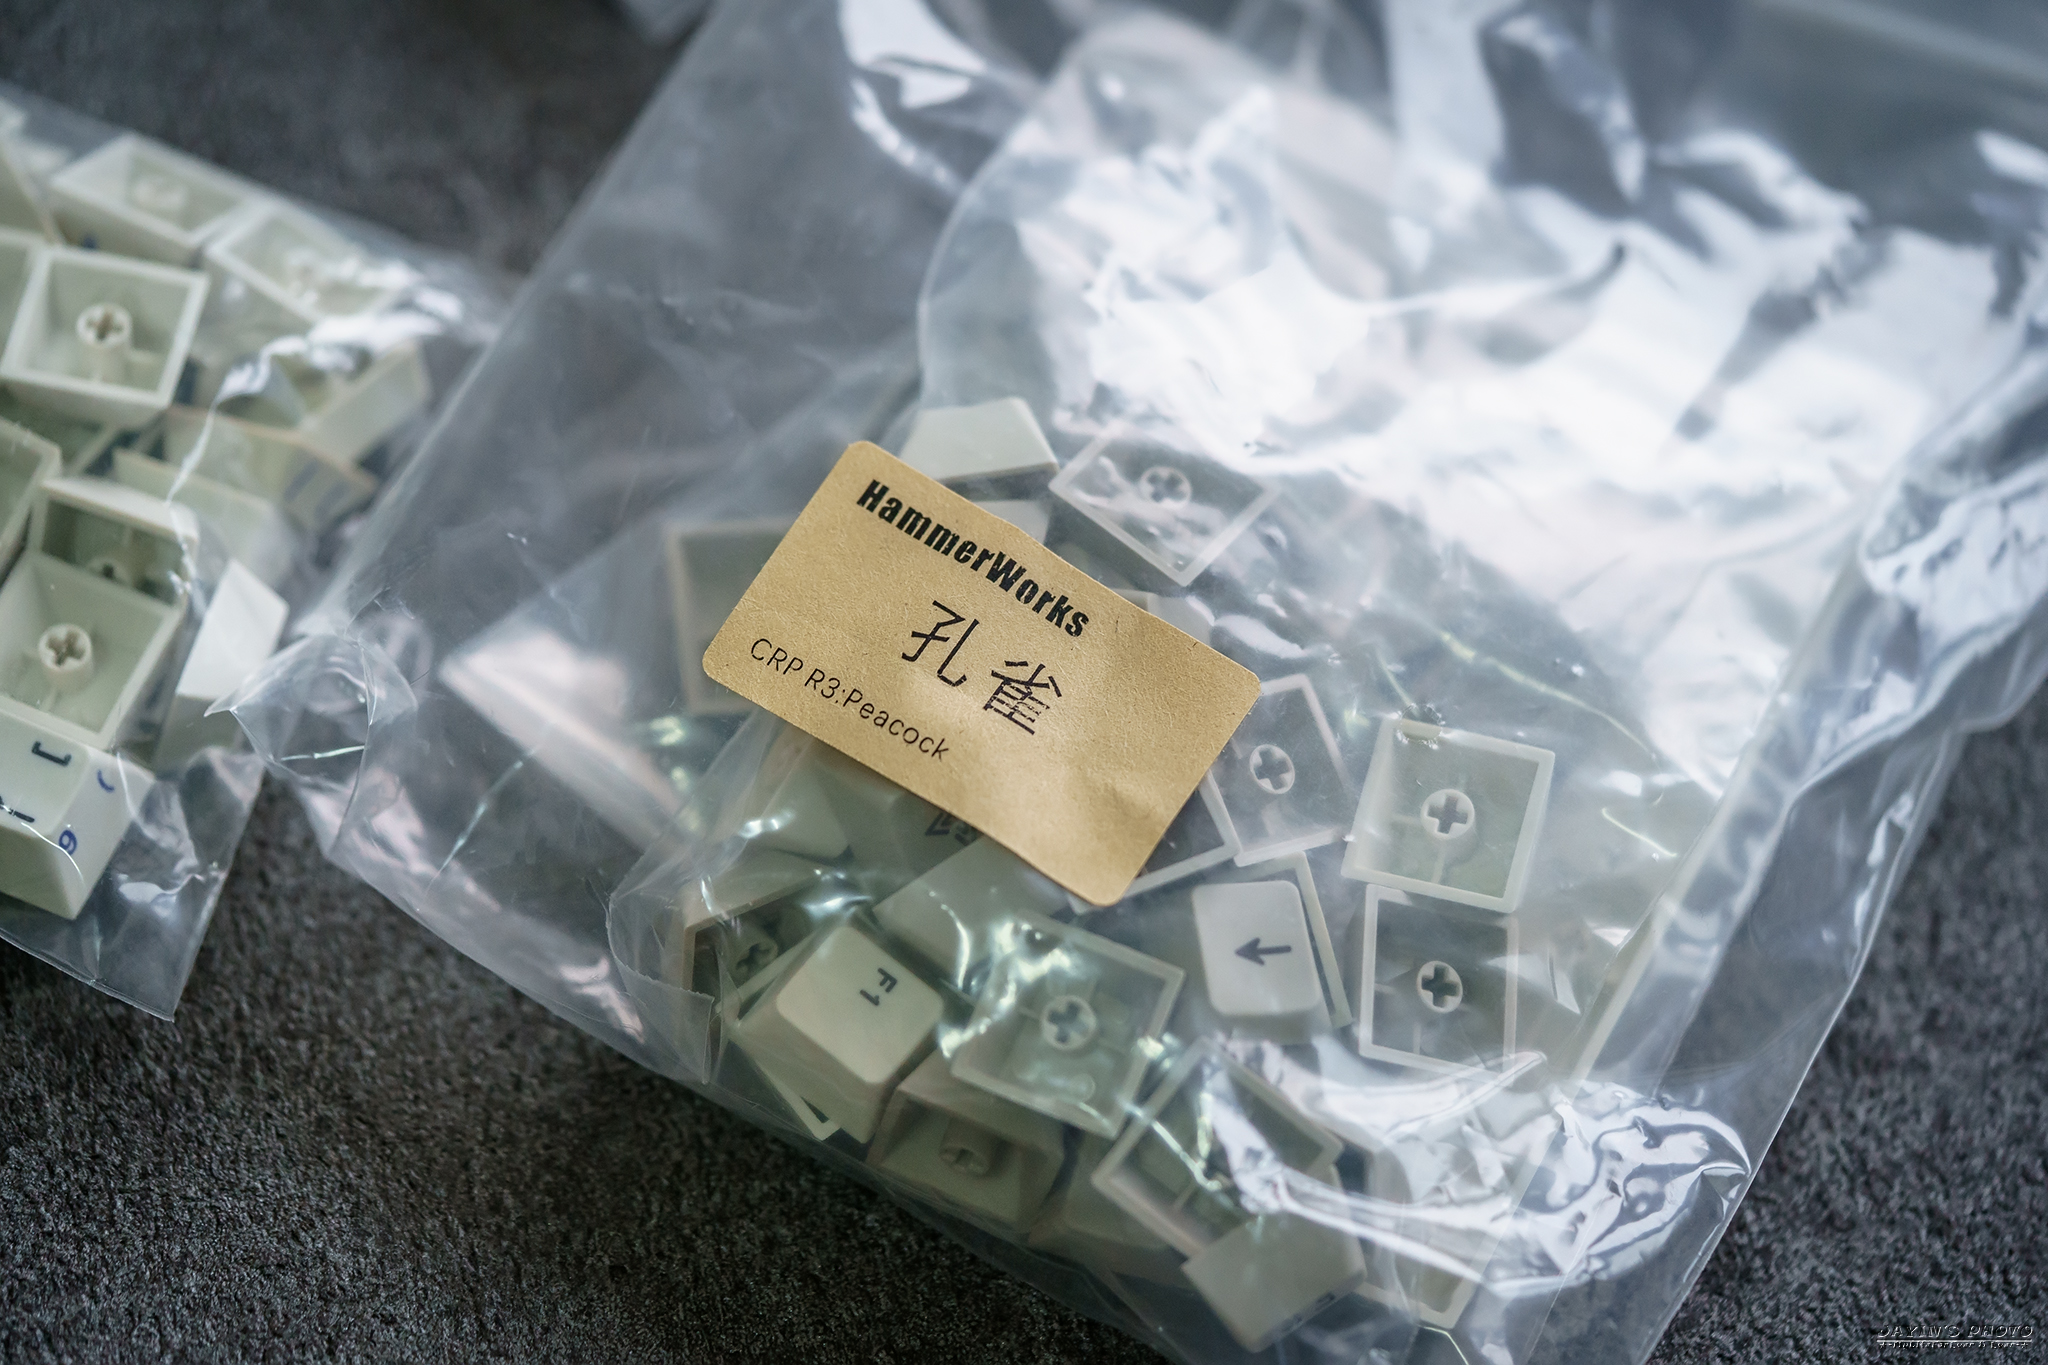
▼直接全裝上了,倍の復古,看著就是舒服。
https://live.staticflickr.com/65535/52269581415_688f4c09a0_o.jpg

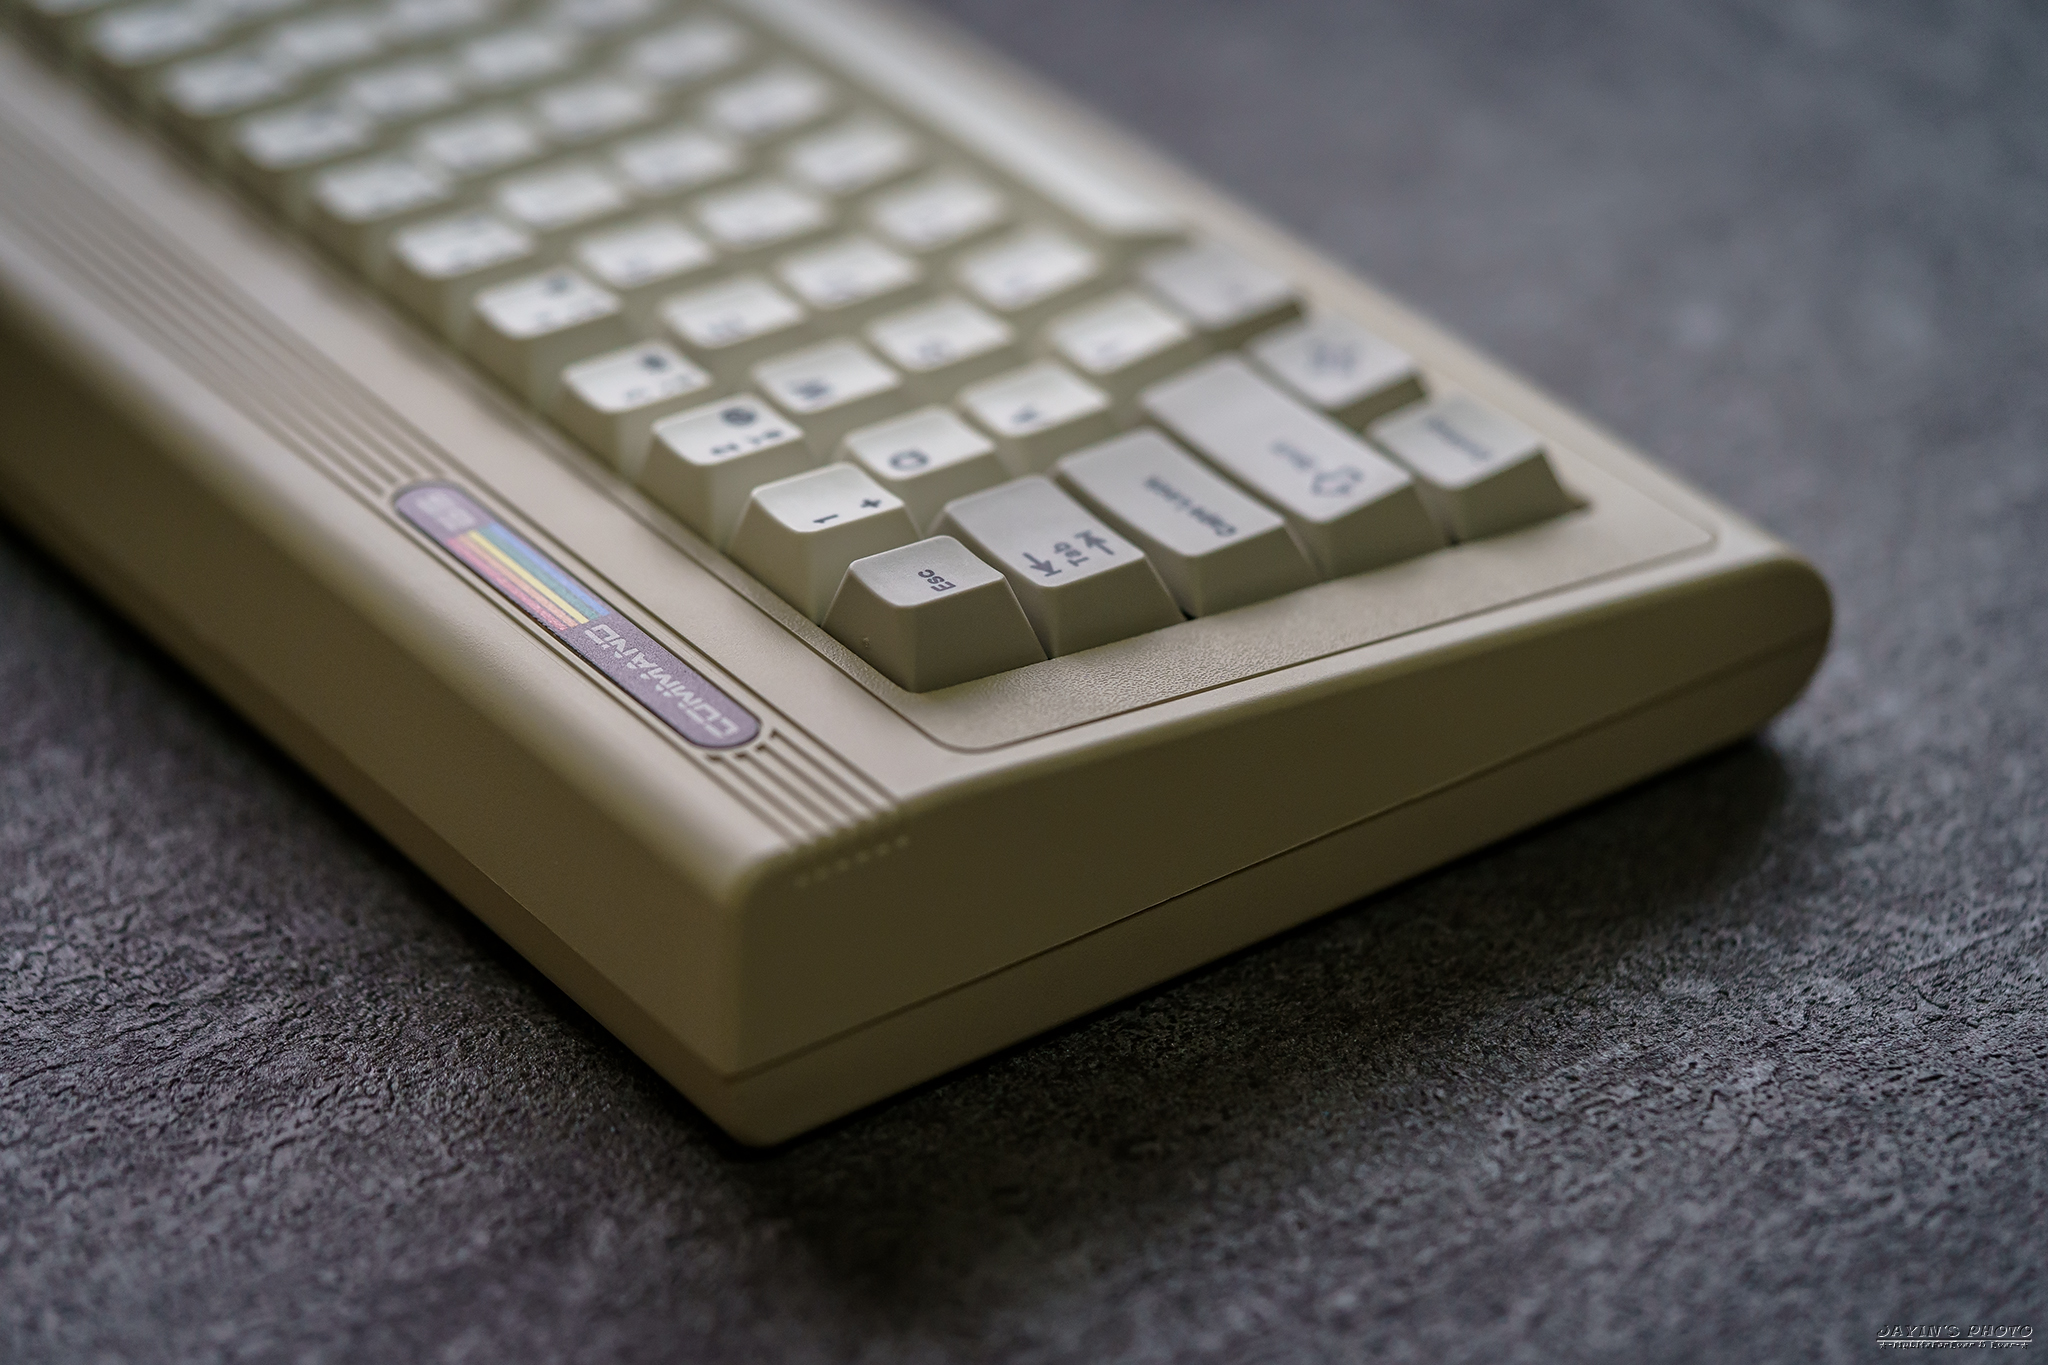
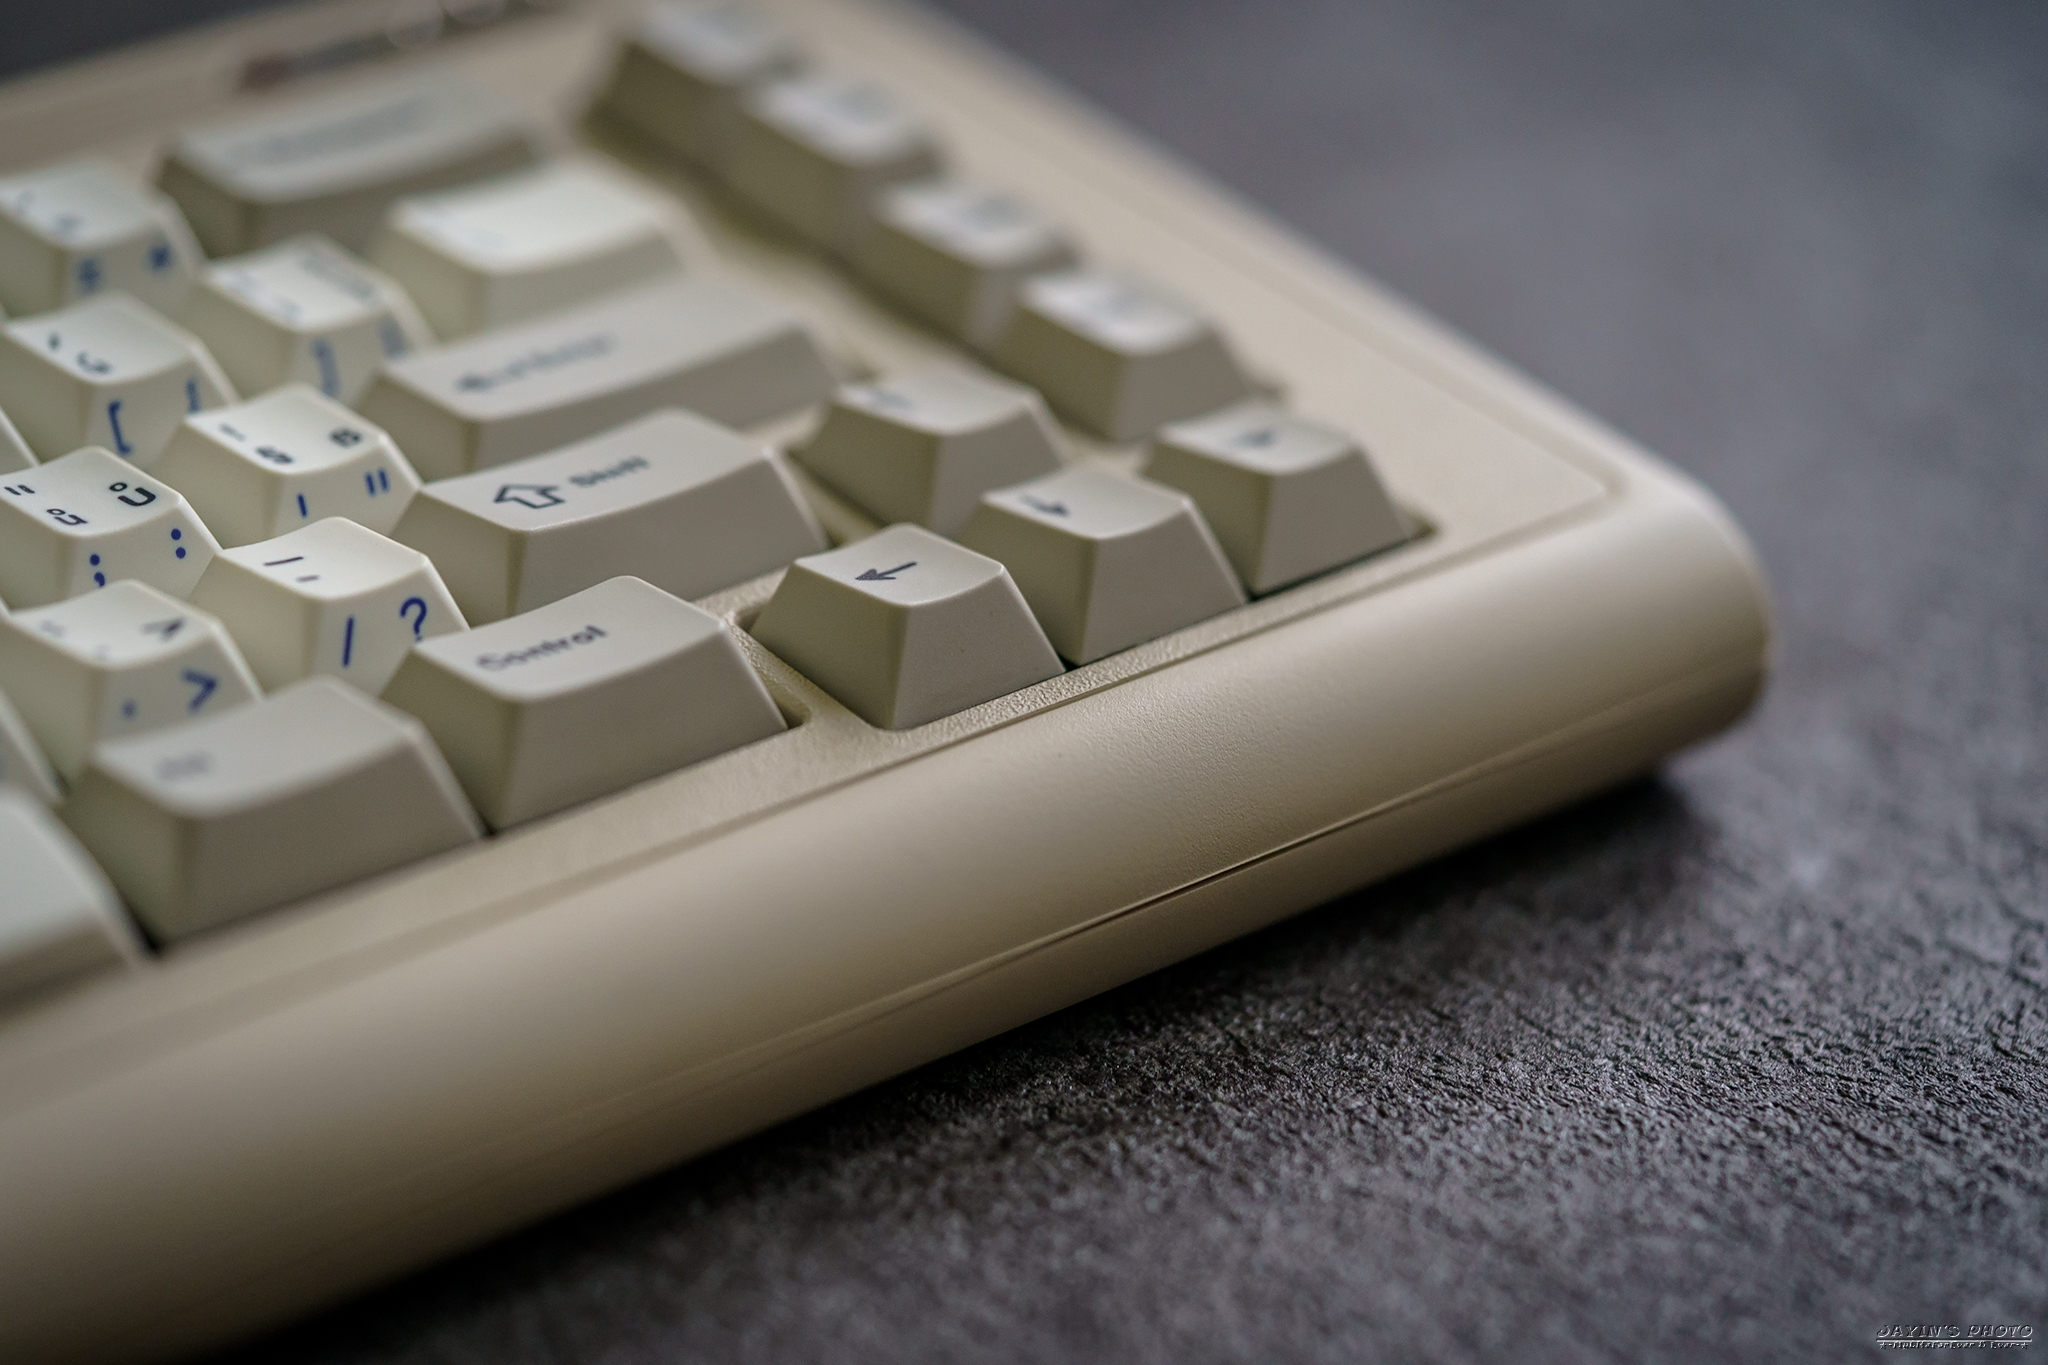
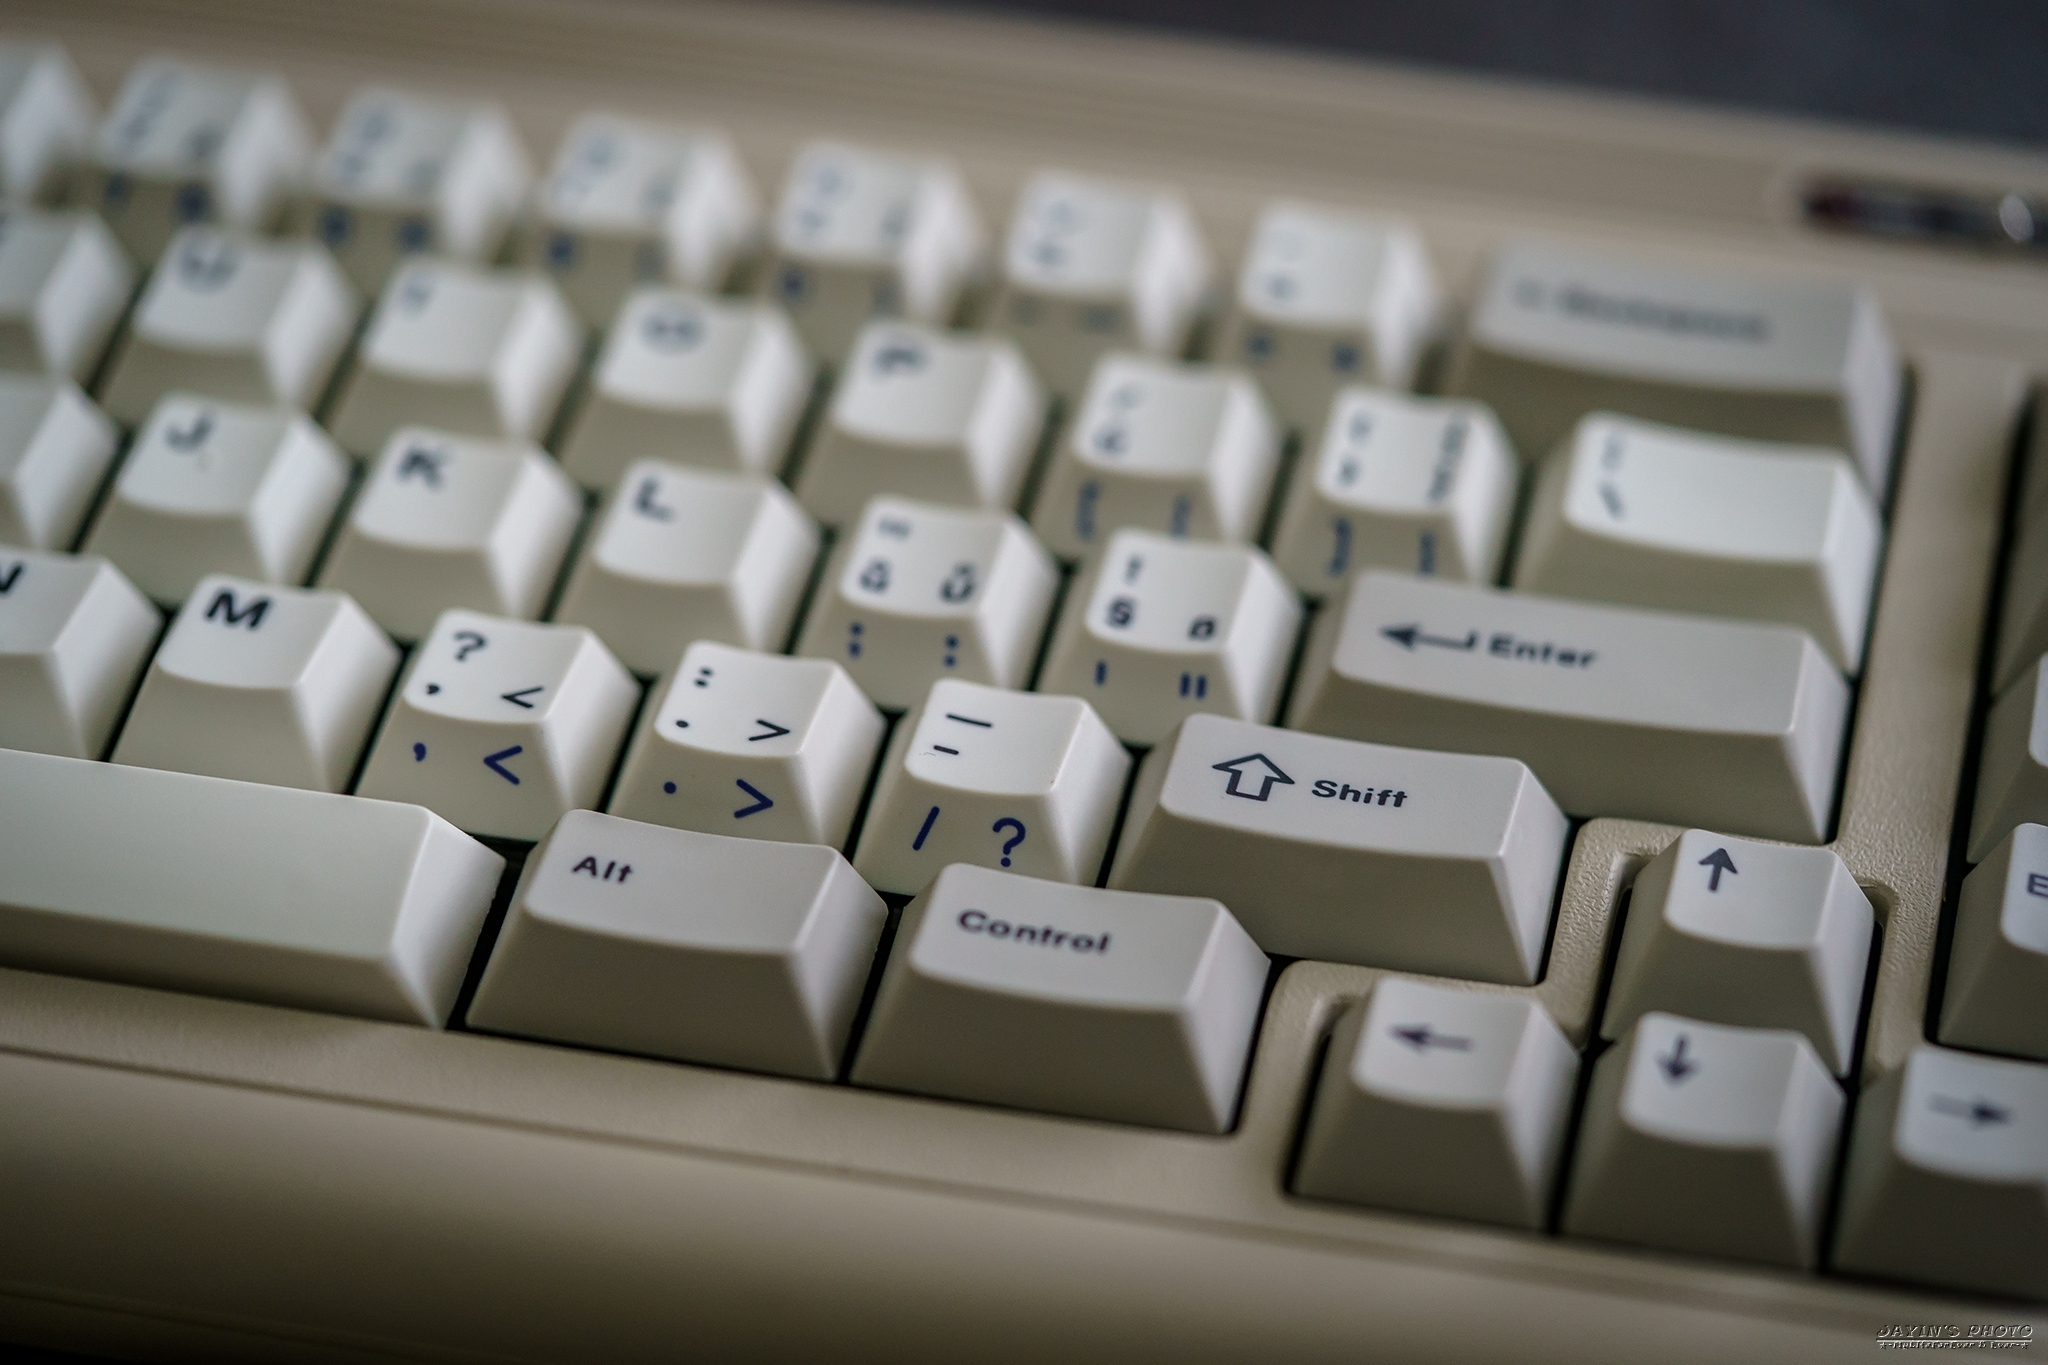
▼下面就賞圖了。
https://live.staticflickr.com/65535/52269361699_583eaf6d60_o.jpg
https://live.staticflickr.com/65535/52269361679_52bbf66ba2_o.jpg

https://live.staticflickr.com/65535/52269361314_e07256aeeb_o.jpg

https://live.staticflickr.com/65535/52269111363_4099caa580_o.jpg

https://live.staticflickr.com/65535/52269581300_aa18cb092e_o.jpg
https://live.staticflickr.com/65535/52268132242_0f0b41dda3_o.jpg
https://live.staticflickr.com/65535/52268132212_29dbe74627_o.jpg
https://live.staticflickr.com/65535/52269092176_14022c3d21_o.jpg

https://live.staticflickr.com/65535/52269581275_8a4f61fbe5_o.jpg

https://live.staticflickr.com/65535/52268132177_a2d5b72d27_o.jpg

https://live.staticflickr.com/65535/52268132147_d39130b857_o.jpg
https://live.staticflickr.com/65535/52269092016_3163008e9a_o.jpg

https://live.staticflickr.com/65535/52269361279_520b3c8a3a_o.jpg

復古的東西就是有它的味道,雖然聞起來就是塑膠味(誤),
而在這個基礎上加上無線的方便,也算是有跟上時代的變化。
以上就是 Command 65 & CRP Peacock的簡單分享
感謝閱文。
心情還是不美麗,就不拍打字影片了,請見諒。
--
塵世中一個迷途的小松鼠
https://kivxlee.blogspot.com/2020/09/kivx-collection.html
![[置頂文章] 個人收藏鍵鼠總覽 & 開箱連結](https://blogger.googleusercontent.com/img/b/R29vZ2xl/AVvXsEjBFJIVCAgbfhIAaSKuK8DcjFbp2yKFqJg4EutKkg94DlIbTvjCywBitdAOnrsVKq5heiDMK7nO6cnoP0yEtgTJggiaiH8BrVyyzsQcmWwE2B-PZ5YS__DtSfc-ev7E6_6QnsPiamaOAEGAZ02y-ybbCAl8K1p0pUjSmdQY_3j_Cc0-F4vfHOiNb1rvYA/w1200-h630-p-k-no-nu/DSC05728.jpg)
--
