完整圖文分享請參考:https://reurl.cc/lo72zd
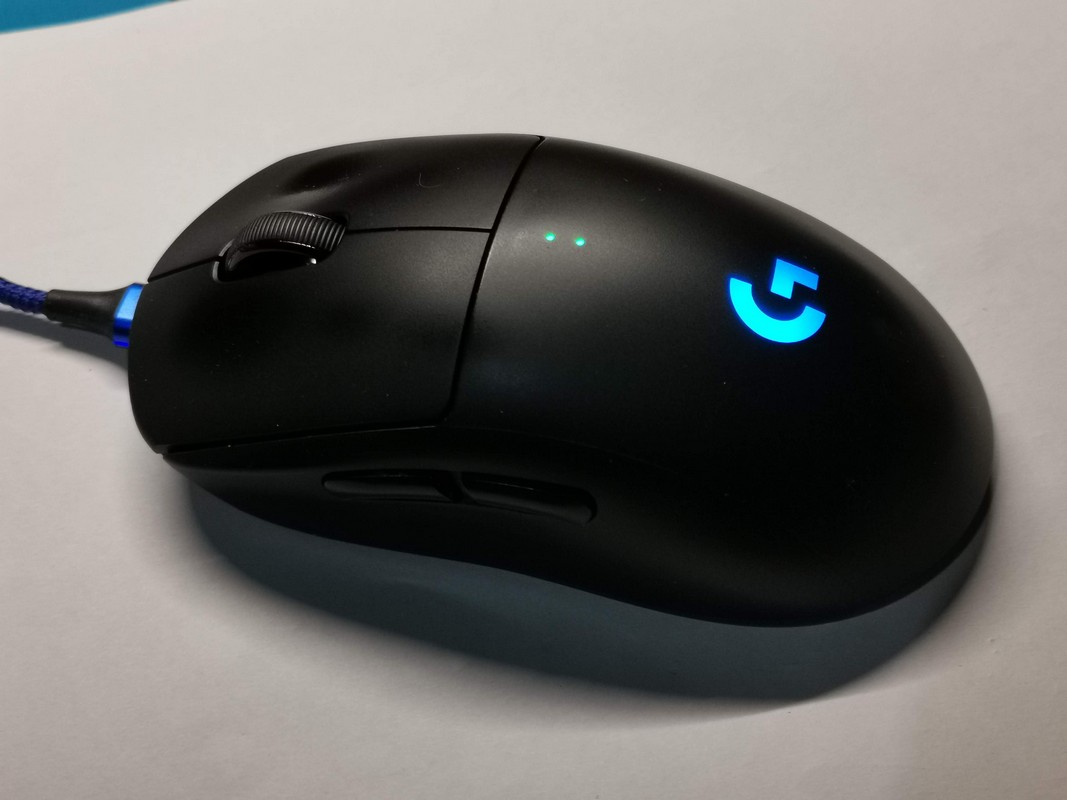
先瞧下用了兩年多我的羅技 G Pro Wireless 換修清潔後的成果
https://imgur.com/Ekh0QmJ

更換後的微動開關:
https://imgur.com/UQ3LJr1

我買的羅技 G Pro Wireless 滑鼠 (簡寫為 GPW,對岸這支很火,還暱稱 狗屁王) 應該
已超過兩年過保固期,使用期間逐漸問題浮現。除了表面有髒垢,電池老化常需充電、側
邊按鍵有羅技引為傲的連點問題,更甚者中間滾輪橡膠已磨損捲動不順 …。
當初買這隻滑鼠花了三千多元,超級昂貴,所以也捨不太得直接換新,乾脆就給它來個從
裡到外的整修清潔。包括左右鍵微動開關、左側兩顆微動開關 (與左右鍵規格是不一樣的
)、中鍵滾輪編碼器、中鍵微動開關、中鍵原裝滾輪、加大容量 (280 → 420 mAH) 鋰電
池、全新鼠貼 等。
後續就來分享下換修心得以及購買的零組件規格、所使用的維修工具與踩坑記錄。
換修過程我主要使用的工具參考如下:
o wowstick 1f+ 電動螺絲起子
o TS-100 數位恆溫電烙鐵 (可透過行動電源供電)
o Engineer SS-02 吸錫器 : 強推!我從日本Amazon含運寄回台灣才500多元
o 電路板固定夾與金屬翹棒等小工具
我購買的零件,微動開關與鼠貼是從「蝦皮-鍵鼠兄弟」、滾輪與鋰電池則從對岸淘寶訂
購 (含運費還是比台灣這邊購買便宜很多)。
o 凱華 80M 微動開關 - 更換左右鍵微動。黃金觸點、8千萬次點擊、回彈清脆。
o 歐姆龍 D2LS-21 - 更換左側邊兩顆微動。這似乎沒有替代品,買的是日製原裝。
o TTC 電競專用金芯編碼器 - 更換滾輪編碼器。刻度感強、精度高。
o 凱華中鍵微動開關 - 更換中鍵微動。
首先瞧瞧還沒拆卸下來時的模樣,灰塵跑進縫隙內必須要打開來才能清潔乾淨。
https://imgur.com/0KrotsS

中間滾輪的塑膠皮革磨損如此嚴重,像鳥啃似的。這種應該是 O型環根本沒得換 (可能可
以去太原路五金行找看),需要整顆滾輪換掉,價格還不太便宜,即使對岸也大約要 NT$
200。
https://imgur.com/zRlinmG

總之就是先拆開再說。外殼螺絲是被鼠貼包覆著,最好先用熱風槍或吹風機軟化鼠貼便於拆下,然後擰開鼠貼下
的螺絲 (共7顆)。
https://imgur.com/UJ1DkSu

要注意下這顆滑鼠的螺絲共有三種規格,所以擰開後最好將之分類好。打開時小心排線不
要弄斷。
https://imgur.com/gpTVrx

https://imgur.com/zGYiWhA

拆左右側電路板比較麻煩些,要小心確定所有螺絲已取下。將中間含左右鍵與兩側電路板全拆下,這樣可以毛刷 (或牙刷) 沾酒精仔細清潔機體。
https://imgur.com/BP6Gefd

https://imgur.com/DmnUAxt

https://imgur.com/EYsuUUZ

用酒精清潔最是方便有效,甚至外殼還可以考慮噴漆塗裝,彰顯個人化特色 (我嫌太過麻
煩也沒材料)。然後鼠貼也全換新的,好像 GPW 一、二代的鼠貼都可以通用。
https://imgur.com/C8yOG0v

https://imgur.com/tBXX56Z

微動開關我都是電話請教「鍵鼠兄弟」老闆給我的建議,尤其左右鍵微動與編碼器,比起
一般的微動貴上許多,但事後我使用的手感確實感覺相當清脆有段落感,個人相當滿意 (
但要注意這幾顆都不是靜音)。
https://imgur.com/YZGmlHn

https://imgur.com/A0DTgrA

中鍵滾輪不太好買,很奇怪,這應該算是消耗品,滾輪塑膠皮革很容易就磨損了。至於鋰
電池,官方那顆是 280 mAh,淘寶那家店甚至還賣有 1100 mAh 超大容量電池,但需要改
裝下電池座,我嫌麻煩所以選容量稍大一些 420 mAh 就好。
https://imgur.com/0hhmnd6

嗯嗯,前兩年也是從淘寶購買的輕便型電烙鐵 TS-100 與銲錫、焊油、銅絲等有了用處,
然後為這次的換修購買的工程師吸錫器非常滿意,吸錫效果比起大陸製好上太多了。
https://imgur.com/poFq2C3

然後這個電路板磁性PCB夾也是前兩年從淘寶買的,夾小的電路板焊接非常的便利。
https://imgur.com/hEqFa18

GPW 核心的電路板,除了USB插槽外,我全給更換掉了。
https://imgur.com/ovTZMDr

這是我第一次成功把滑鼠微動開關解焊,以前我解焊時限於電烙鐵與貧乏的技術無法成功
。但這次編碼器我解焊時還是很困難,它兩側有鐵片勾住很難拆下,所以後來我乾脆把它
整顆剪掉才完成解焊。
https://imgur.com/34AKsgL

這是側邊微動開關,是採用貼片方式焊接的,所以挺容易解焊。
https://imgur.com/TwDodLa

焊接完成後全新的微動開關與滾輪,微動與編碼器有種高大尚的感覺。
https://imgur.com/UQ3LJr1
焊接完成然後一一的把電路板裝回機座。
https://imgur.com/H1FZIsT

裝回過程其實不太順利,主要我先前沒弄清楚螺絲的規格,所以來回拆下、重裝好幾次才
總算確實完成。
https://imgur.com/bIxS2eH

先確實把滑鼠上半部裝回。
https://imgur.com/wGD6DLh

https://imgur.com/tiaJ3Gr

https://imgur.com/OHCfZfD

準備換上 420 mAh 較大容量的鋰電池。可以看到容量較大但比原裝的 280 mAh 電池體積
還要細,不知容量是否有灌水?!
https://imgur.com/cFITh4I

把電池用雙面膠貼到上座然後固定住,再來把排線等確實接回。
https://imgur.com/NoEK0O0

大功告成!整個跟全新的一樣。
https://imgur.com/Lsz0Tdl

接回 Micro USB 充電,透過 羅技 G Hub 測試驅動連接確實沒有問題,充電也可以正常
充飽。
https://imgur.com/skIYUkr

https://imgur.com/nMrFXcs

這次的換修成果相當滿意,除了讓我的 GPW 煥然一新,按鍵的觸感與滾輪的段落清脆感
很舒適,更是有種滿滿的成就感。
--
http://www.kenming.idv.tw
--